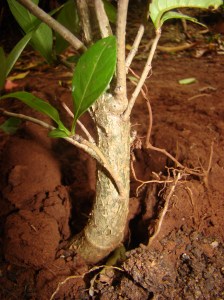
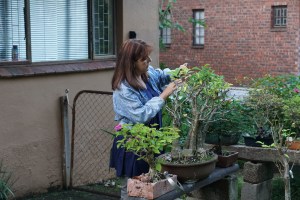
In 2009 I started with a baobab experiment. All my baobabs I have started from seed and I did not want to wait so long to have thick trunks. (I was no youngster in 2009 either). I had an idea to trunk split (much like figs) some of them. At that stage I was communicating with Harry Harrington (UK) and he suggested ‘scoring’ the bark. In fact, he had to explain the concept to me as I had never heard of it. It is slicing through the bark length ways, not too deep in, just cutting through the cambium. This was difficult with baobabs as baobabs do not have ‘bark’ as such. I selected 5 similar sized baobabs and started my experiment.
At this stage, I must warn all reading this post. WHAT FOLLOWS WORKED FOR ME AND I AM NOT ADVOCATING IT FOR ALL. I LIVE IN A (DRY AT PRESENT) TROPICAL AREA. Know your area before you do exactly what I did. I do not take my baobabs out of the soil in winter and they get watered 365 days of the year. ALL OF THEM.
In 2009 I selected 5 similar sized baobabs (100mm in circumference). .
Tree no 1
 was trunk split right through and planted in the soak pit.
Tree no 2
 No 2 was planted directly in the garden – no special soil.
Tree no 3
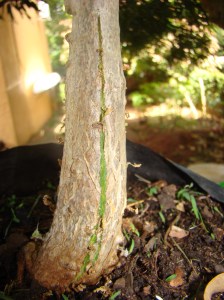 No 3 was scored lightly along all 4 sides (and in the end showed the least thickening)
Tree no 4
 No 4 was deeply scored and showed the 2nd most thickening.
Tree no 5
 and no 5 was left in the bag as is and showed the least thickening and only got 110mm in 3 years. (Effectively was the control)
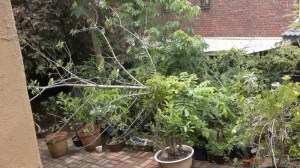
“Trees no 2, 3 and 4 went from 100mm to between 350mm and 380mm in three years. They were all used in a planting where I hope they will fuse into one BIG baobab (like the Modjadji baobab in Limpopo). There are 7 trees planted tightly together to eventually form one.
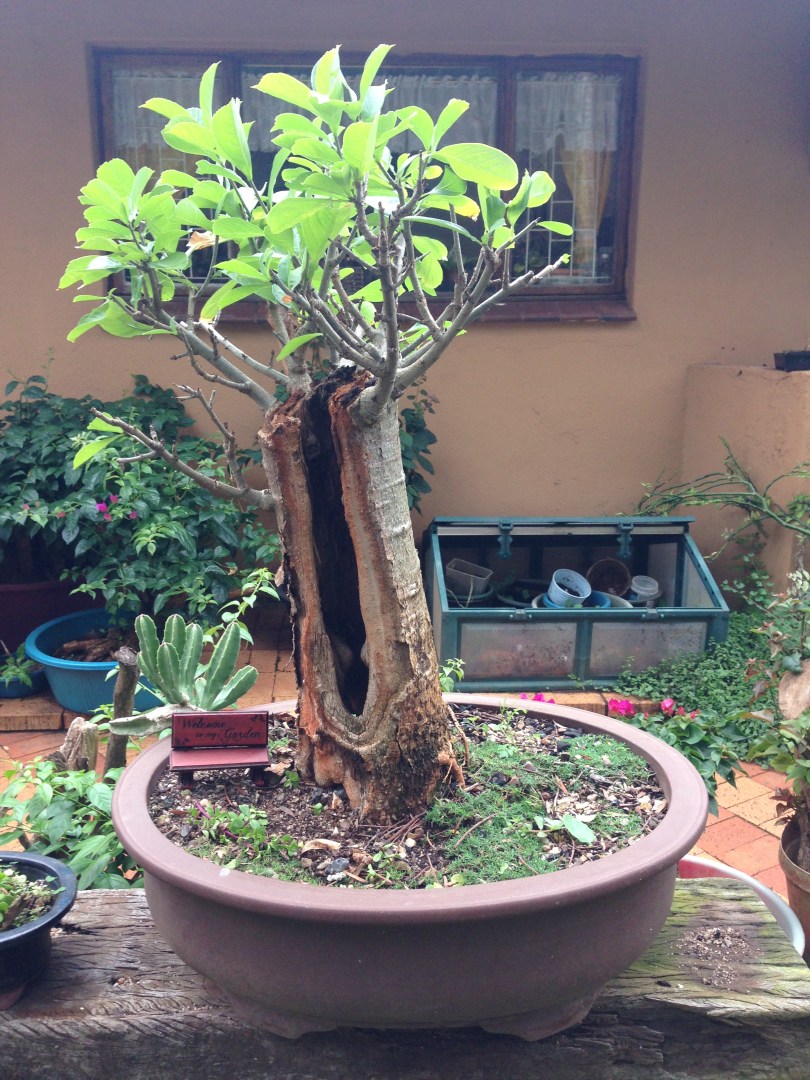
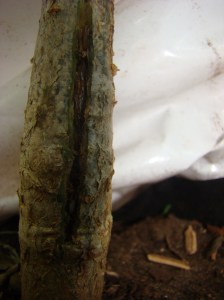
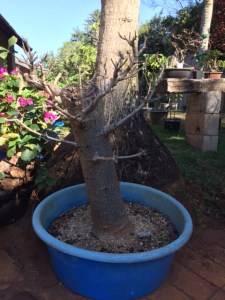
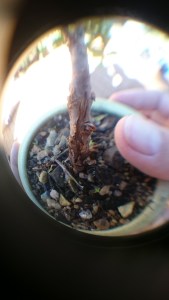
No 1 was left in the soak pit, watered daily for 365 days of the year, but unfortunately in Dec 2012, it got blown over during a storm, having reached 520mm in circumference and a height of 4 meters. You can still see the scar in the front of the 3rd picture.

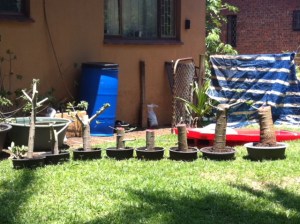
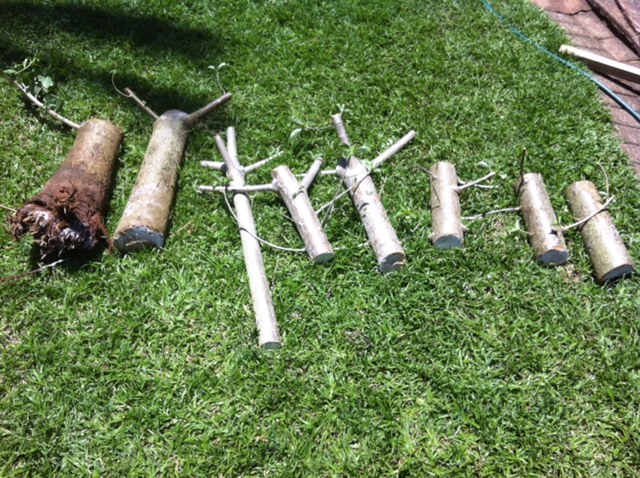
Four years later in Dec 2013, the main tree, (no 1) got blown over and cut into 7 pieces. Unfortunately only 2 took.
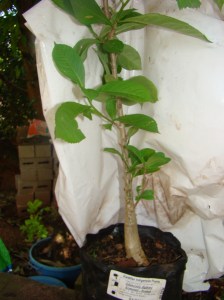
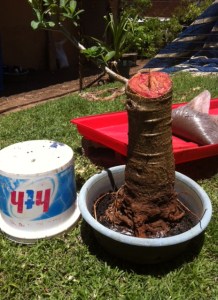
This is the original base:
 . I did not seal it properly and ants started eating it from the inside. I bravely decided to leave it to see what would happen. I have to admit, I am very happy with the outcome. Although this has many years left in training, I have potted it and called it “Gambaru” (“Doing one’s best and hanging on to the end”). I successfully rooted the piece immediately on top of the base. And this is it, now in 2015
.
This is a very longwinded post on how to score trees, I know. But I hope this is sufficient background for leading up to the answer to “How/why ‘score’ cuttings?”
I have a beautiful Portucularia afra (Spekboom) and I cannot through the trimmings away, so I always stick in soil in the pots next to my tree. It does take long to thicken and does not have much taper. Earlier this year, I started with another experiment. I decided to score some cuttings to see what happens, I have enough, you see. if I lost one or two it would not harm. Unfortunately, I did not document anything, until this post in Bonsai Odyssey.
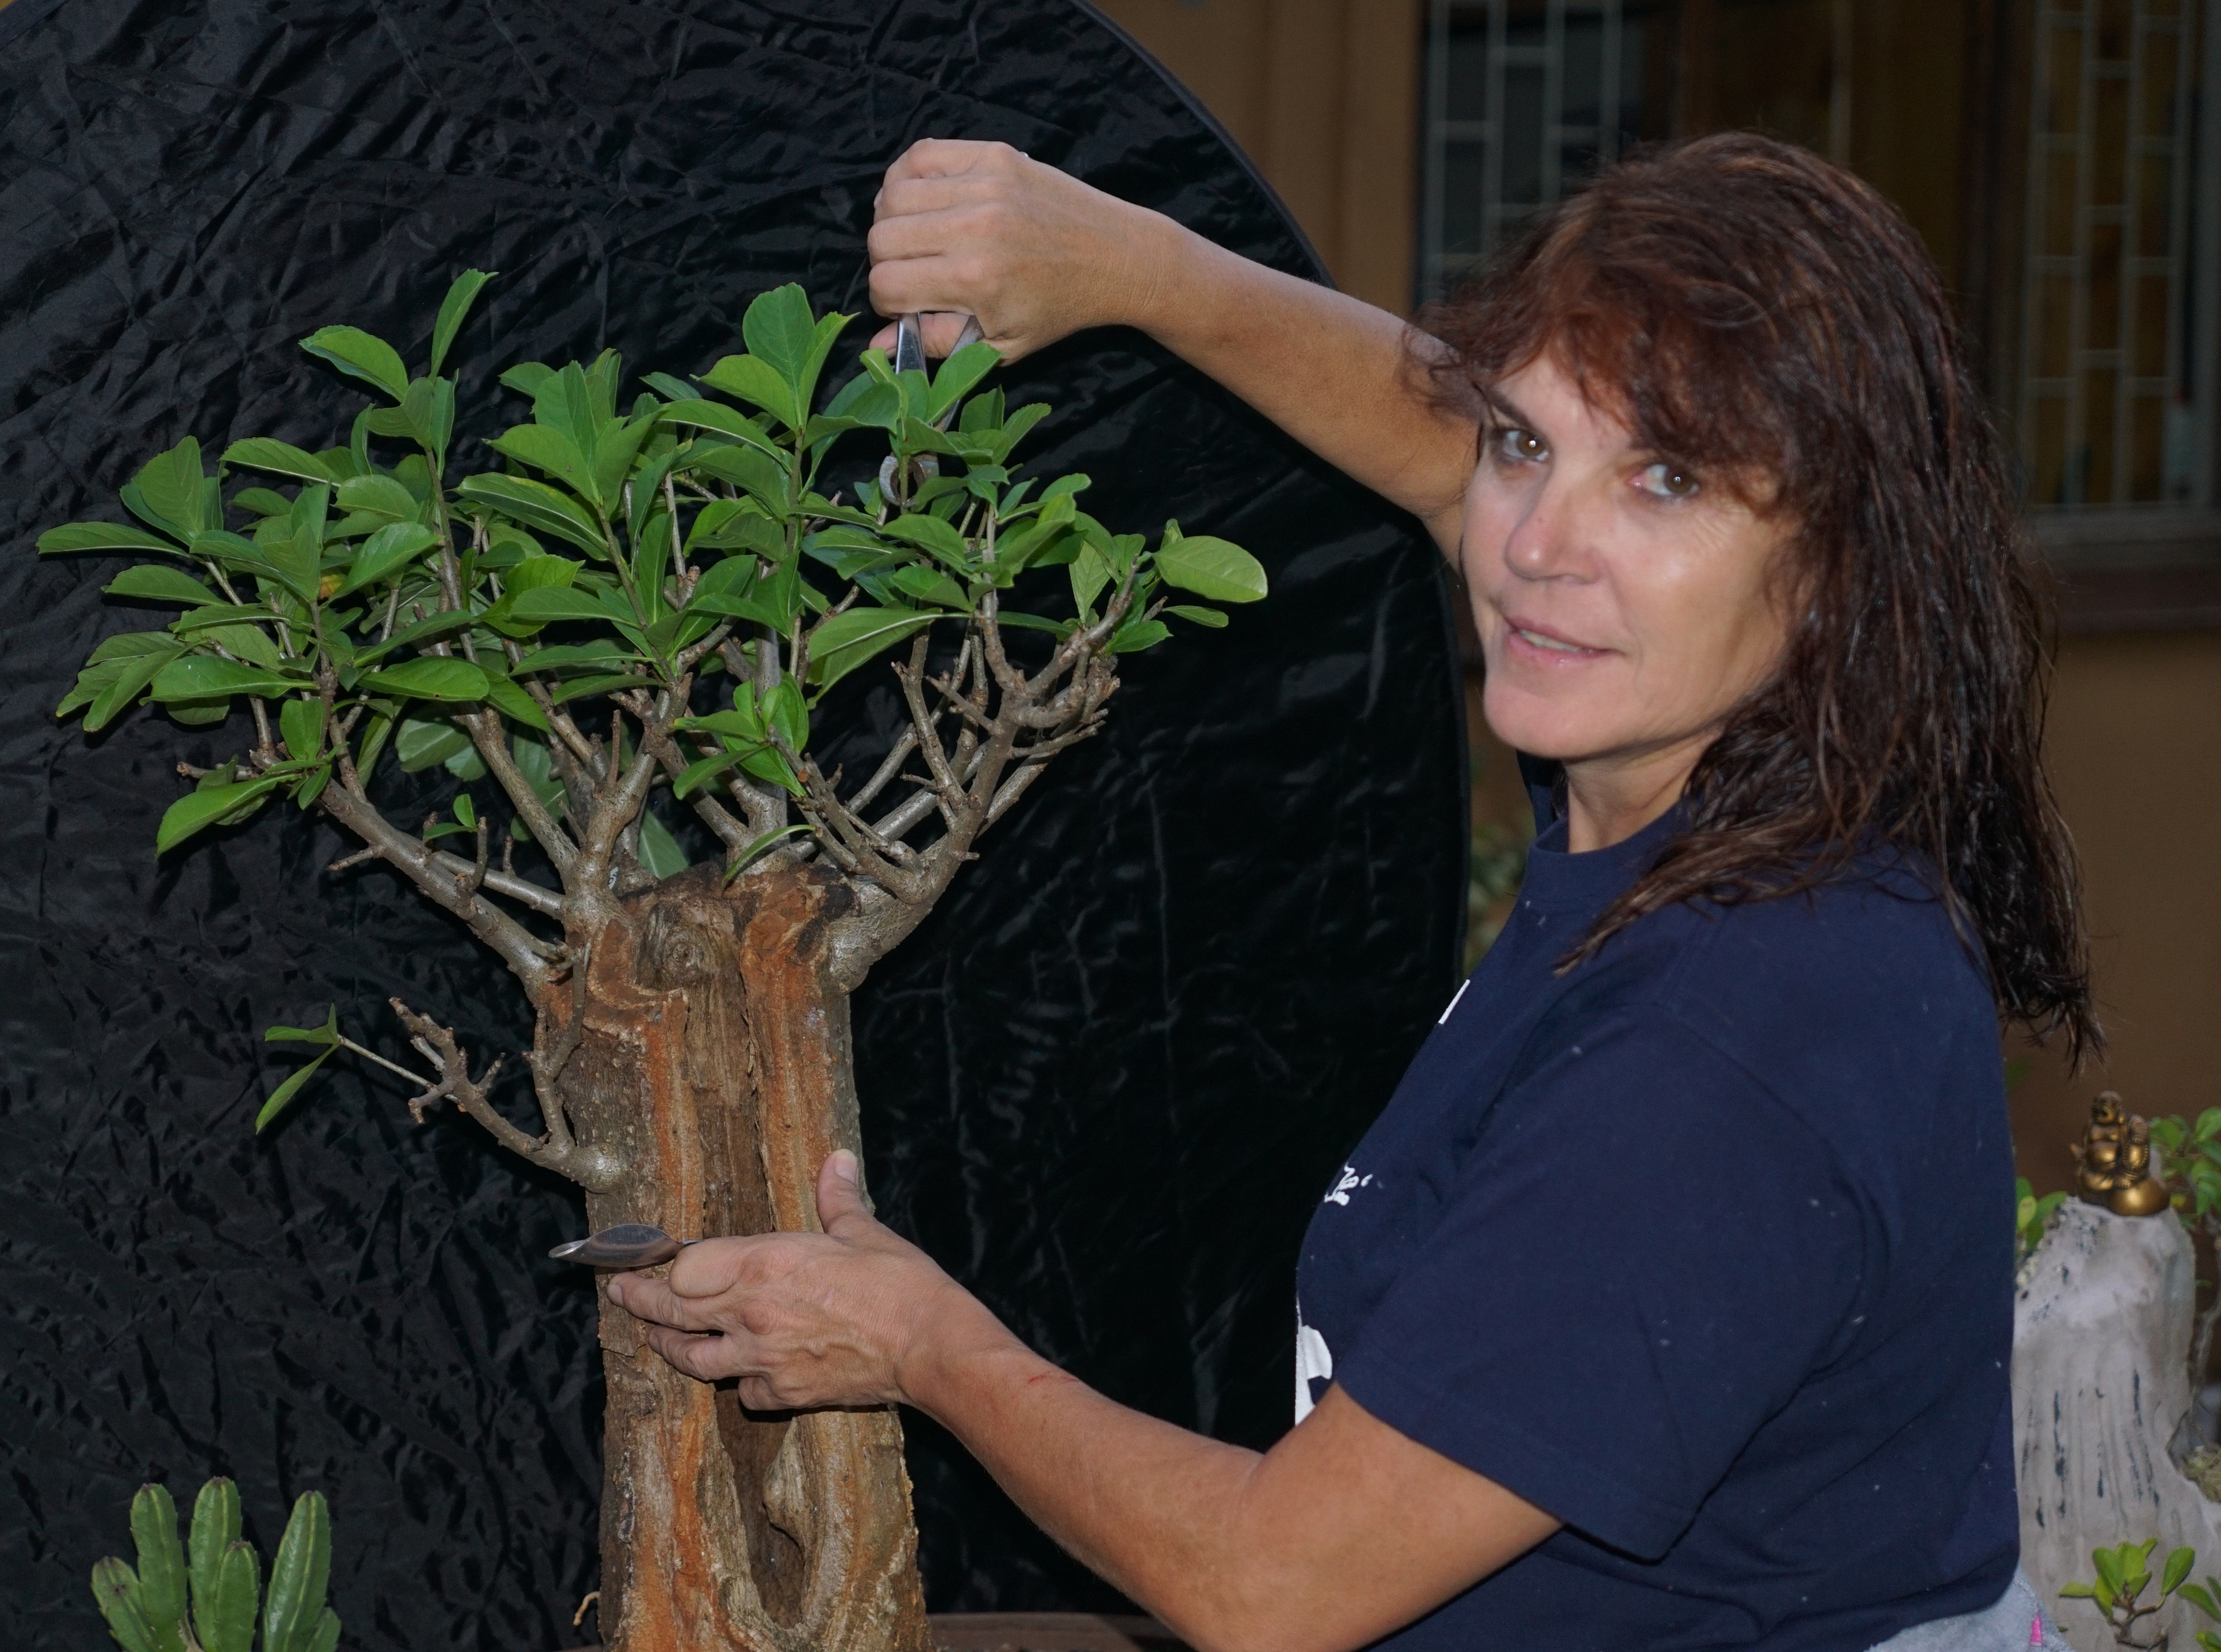
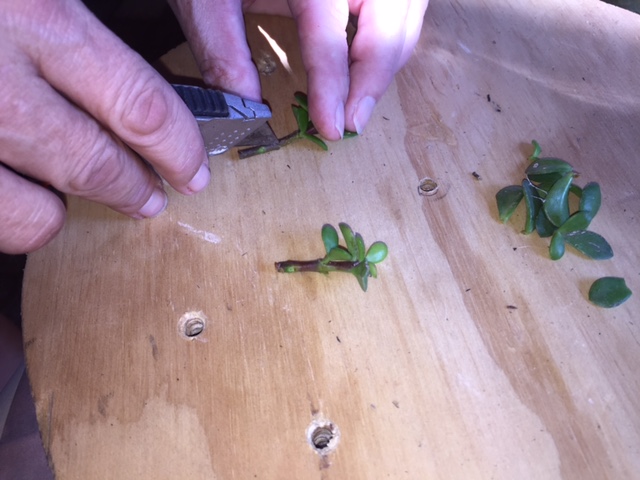
I used exceptionally small cuttings, I know, but I hope you see what can happen in a few weeks. ( I apologise for the quality of the photos, I am 2 weeks post-op and in a neck brace with limited movement (and field of vision).
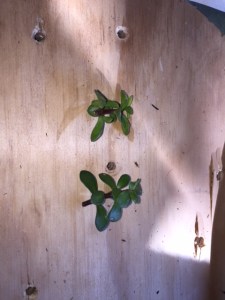
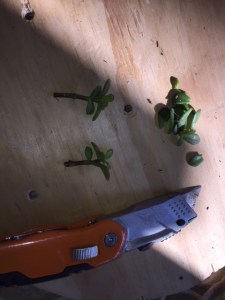
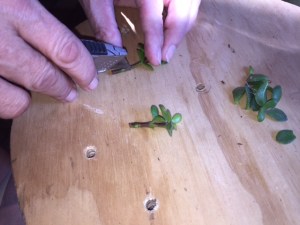
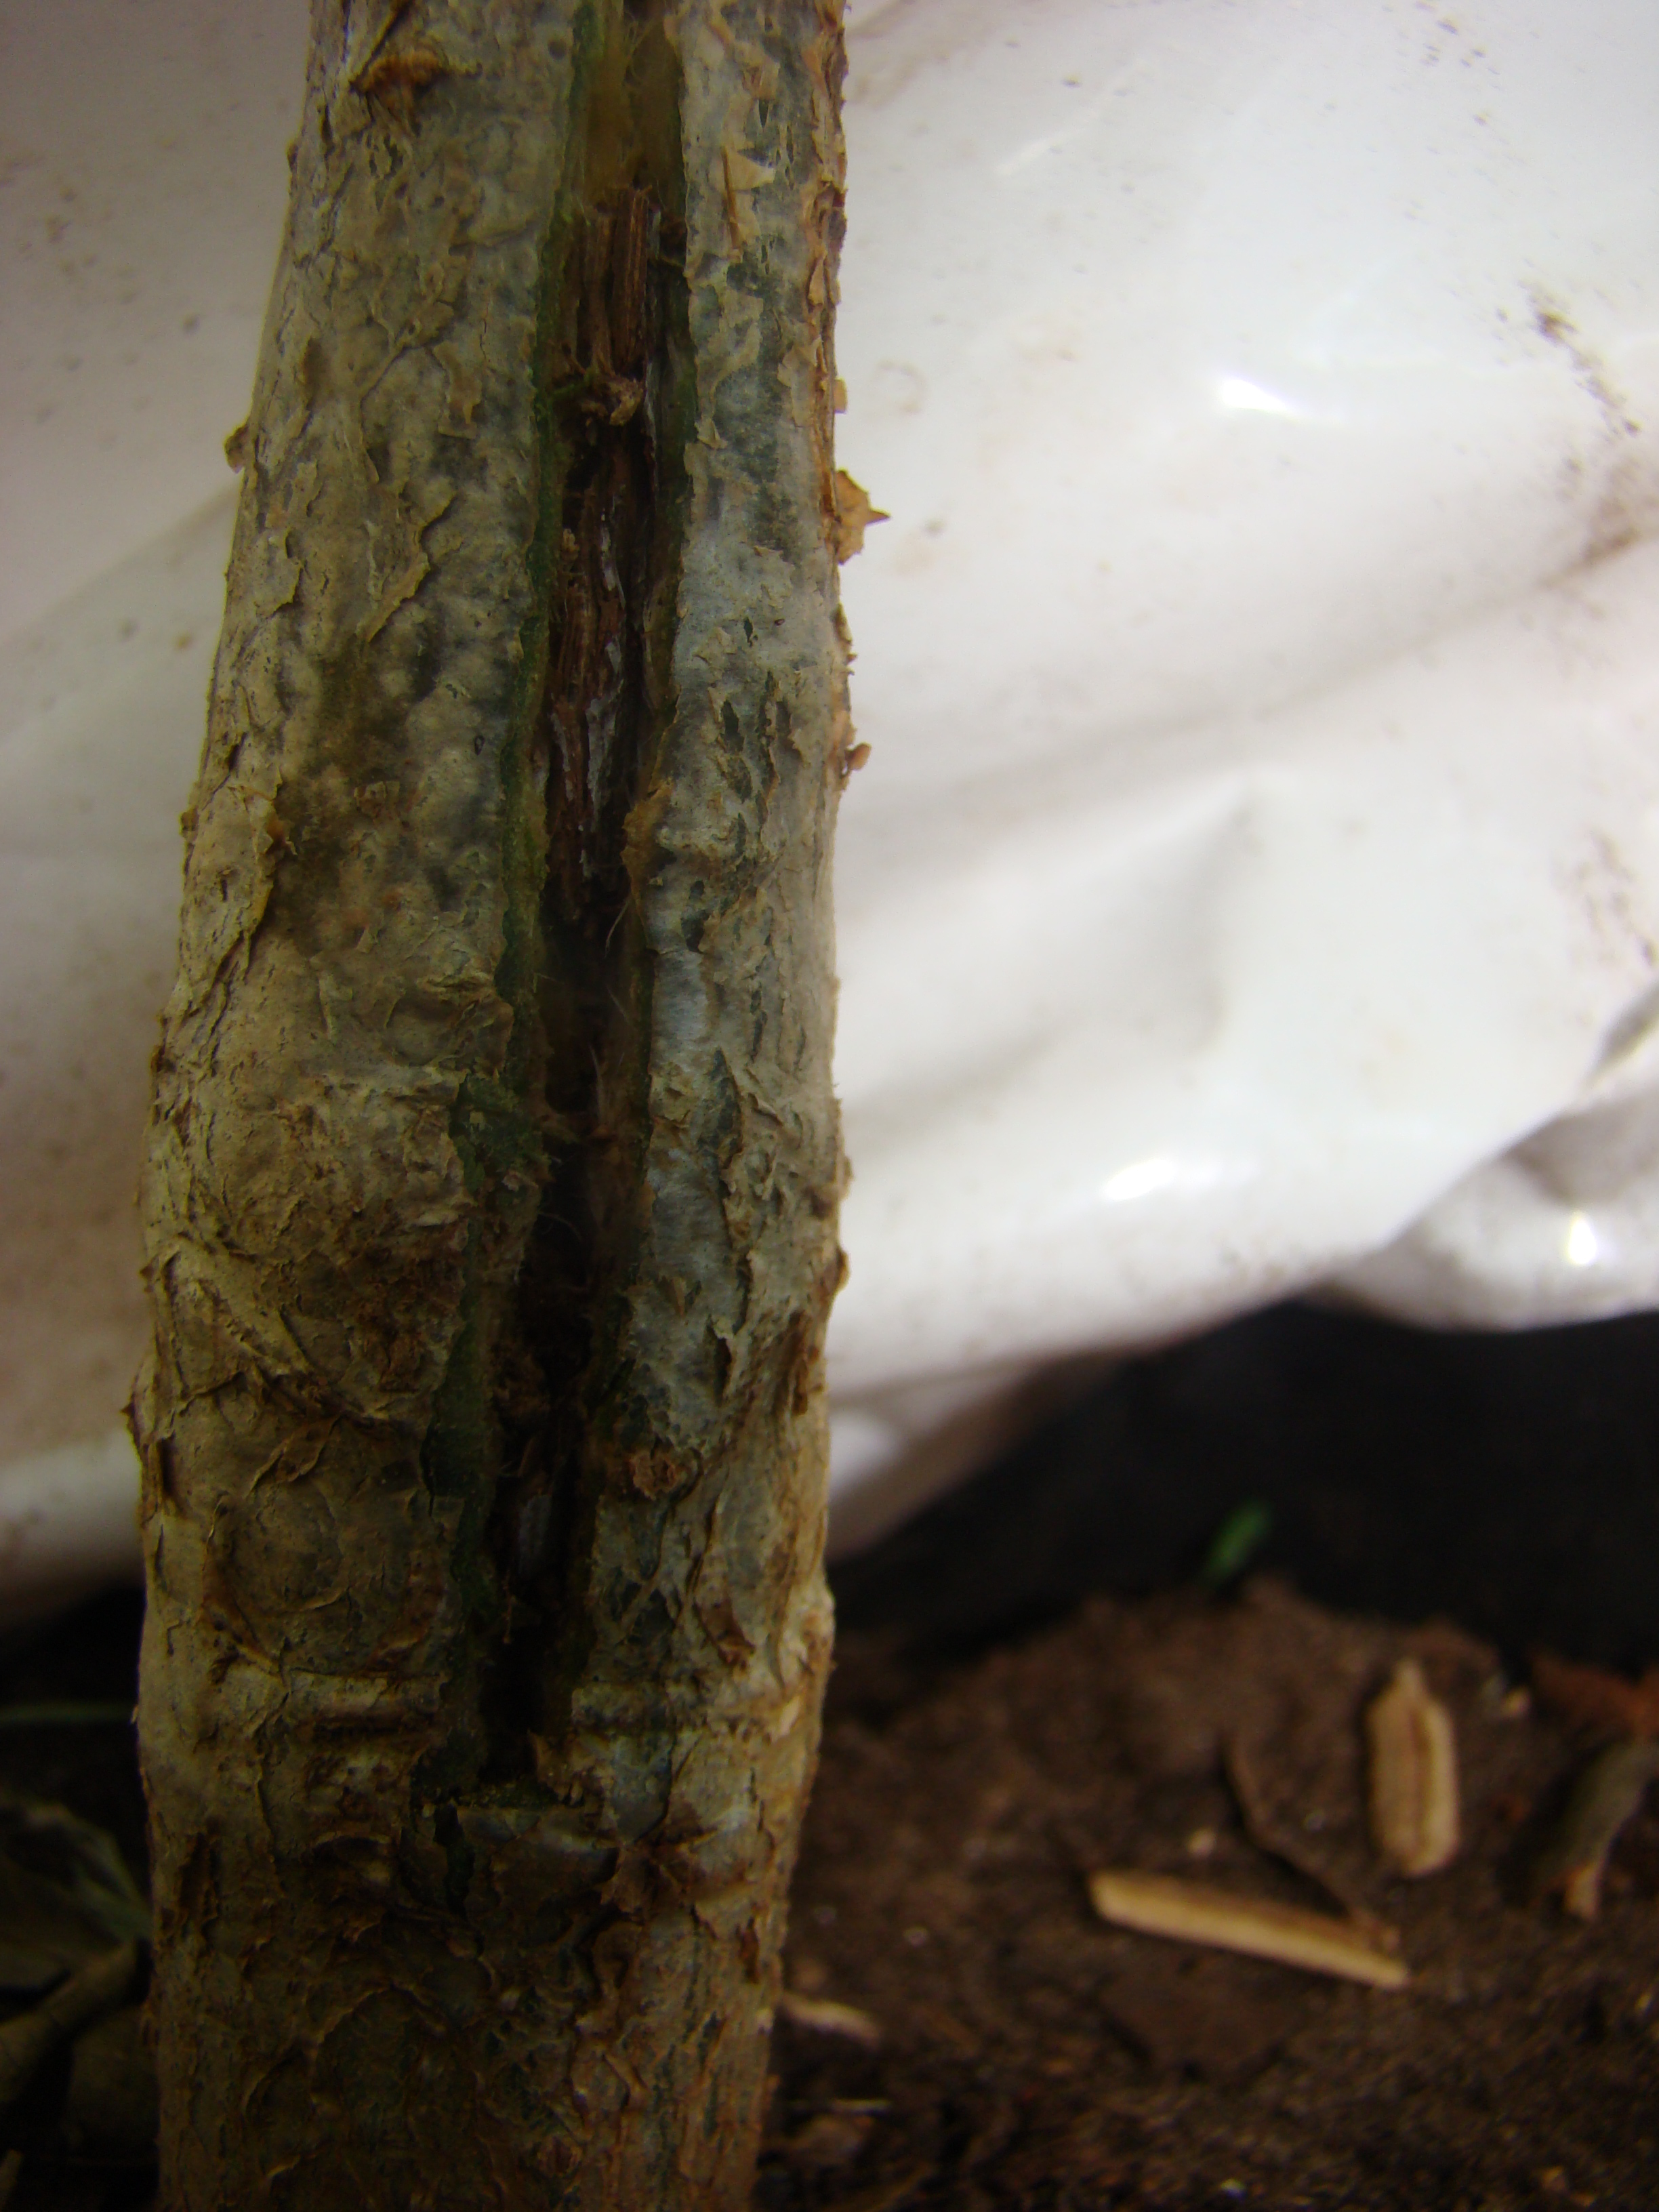
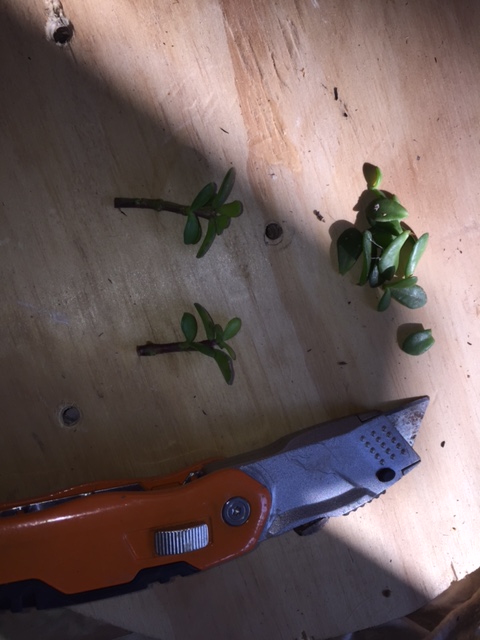
I am sure this specimen is quite hardy, but make sure your tools are clean and sterile. Remove the bottom leaves (did you know they are edible? (I feed them to my koi and goldfish, but humans can eat it too). Then, gently cut along the stem. (These were done (27/06/2015).
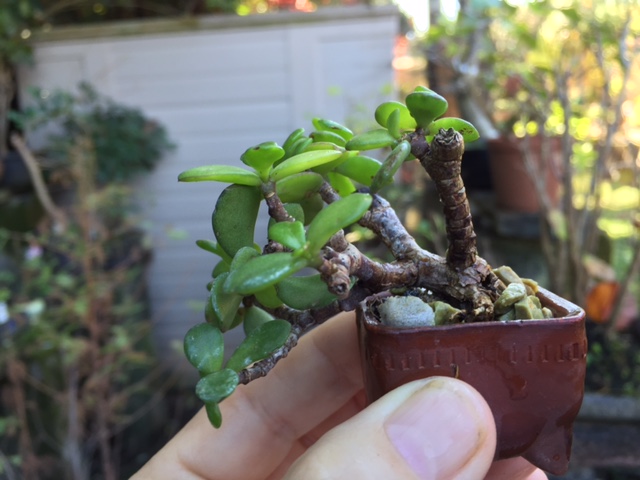
The following cuttings were done in May 2015, so effectively they are just over a month old (I would say 6 weeks). You can clearly see how the cut is healing taking on the flaky characteristics of this species.

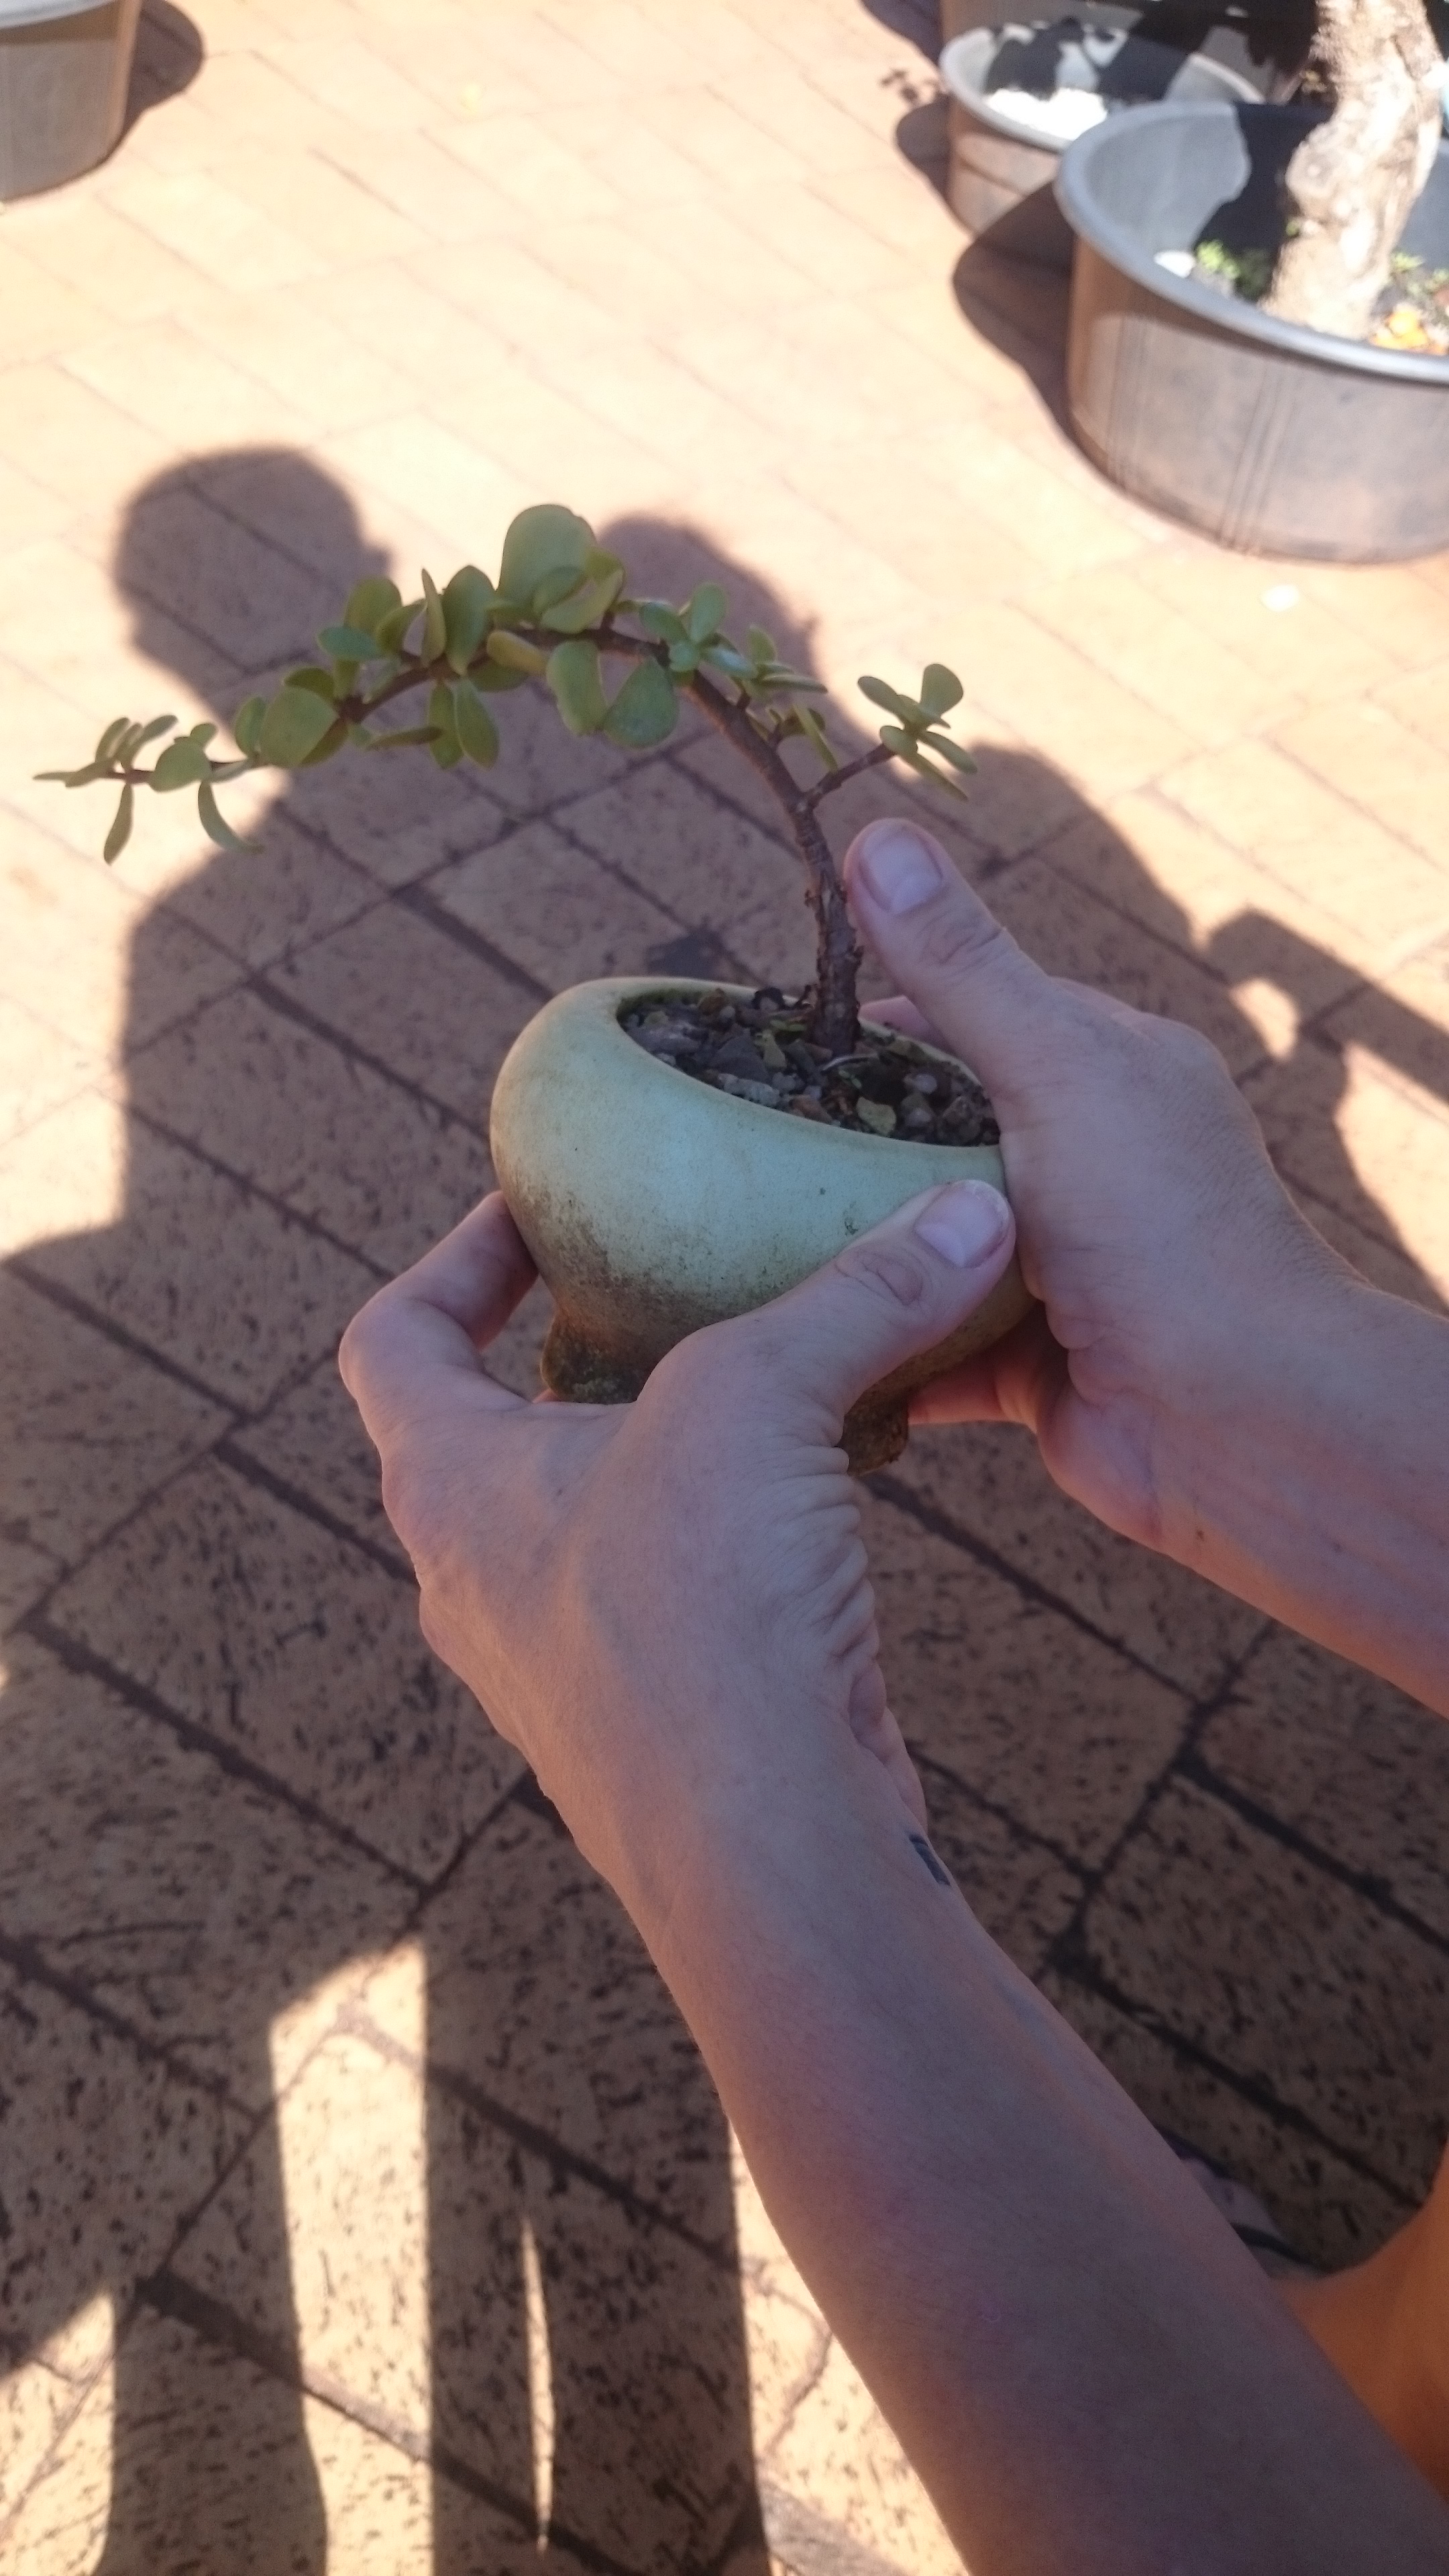
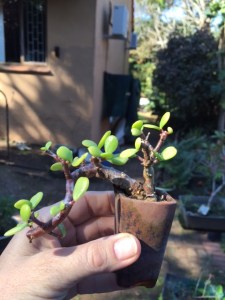
The following pictures are little mames I did in about March this year, except for one which is a year old.

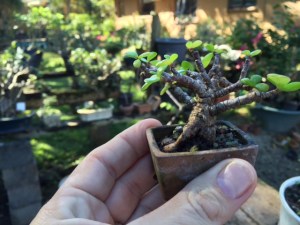
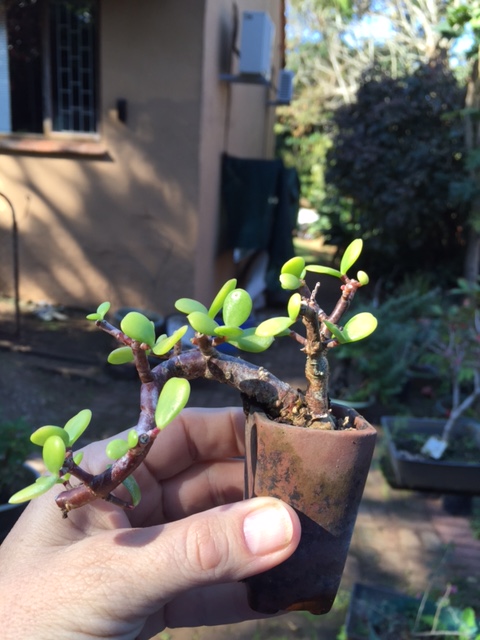
I wired this tree and left the wires on too long (on purpose). I think I will do it again. It will lead to interesting scarring. Of note is the fact that the left side branch is thicker than the main branch – due to the wire bite. This time I will wire the main branch too.
This blog was started just before my op and just before I could really get into it. This is actually my very first post. Yesterday, I was feeling deeply depressed (side effects of being inactive for 2 weeks now). Just talking about bonsai has lifted my spirits. Thanks to the Bonsai Oddessey Facebook page.