From Penjing to Bonsai to Africa: Tradition, Beauty and the Spirit of Endurance

A bonsai exhibition can sometimes feel like a gathering of old friends who speak different languages. At first glance, the trees may appear similar: miniature forms in shallow containers, carefully cultivated over many years. Spend a little more time with them, however, and distinct voices begin to emerge. Some trees seem eager to tell a story. Others sit quietly, inviting contemplation. Still others carry the rugged character of landscapes shaped by drought, fire, and survival. These voices belong to the traditions of Chinese penjing, Japanese bonsai, and an increasingly distinctive African approach to bonsai.

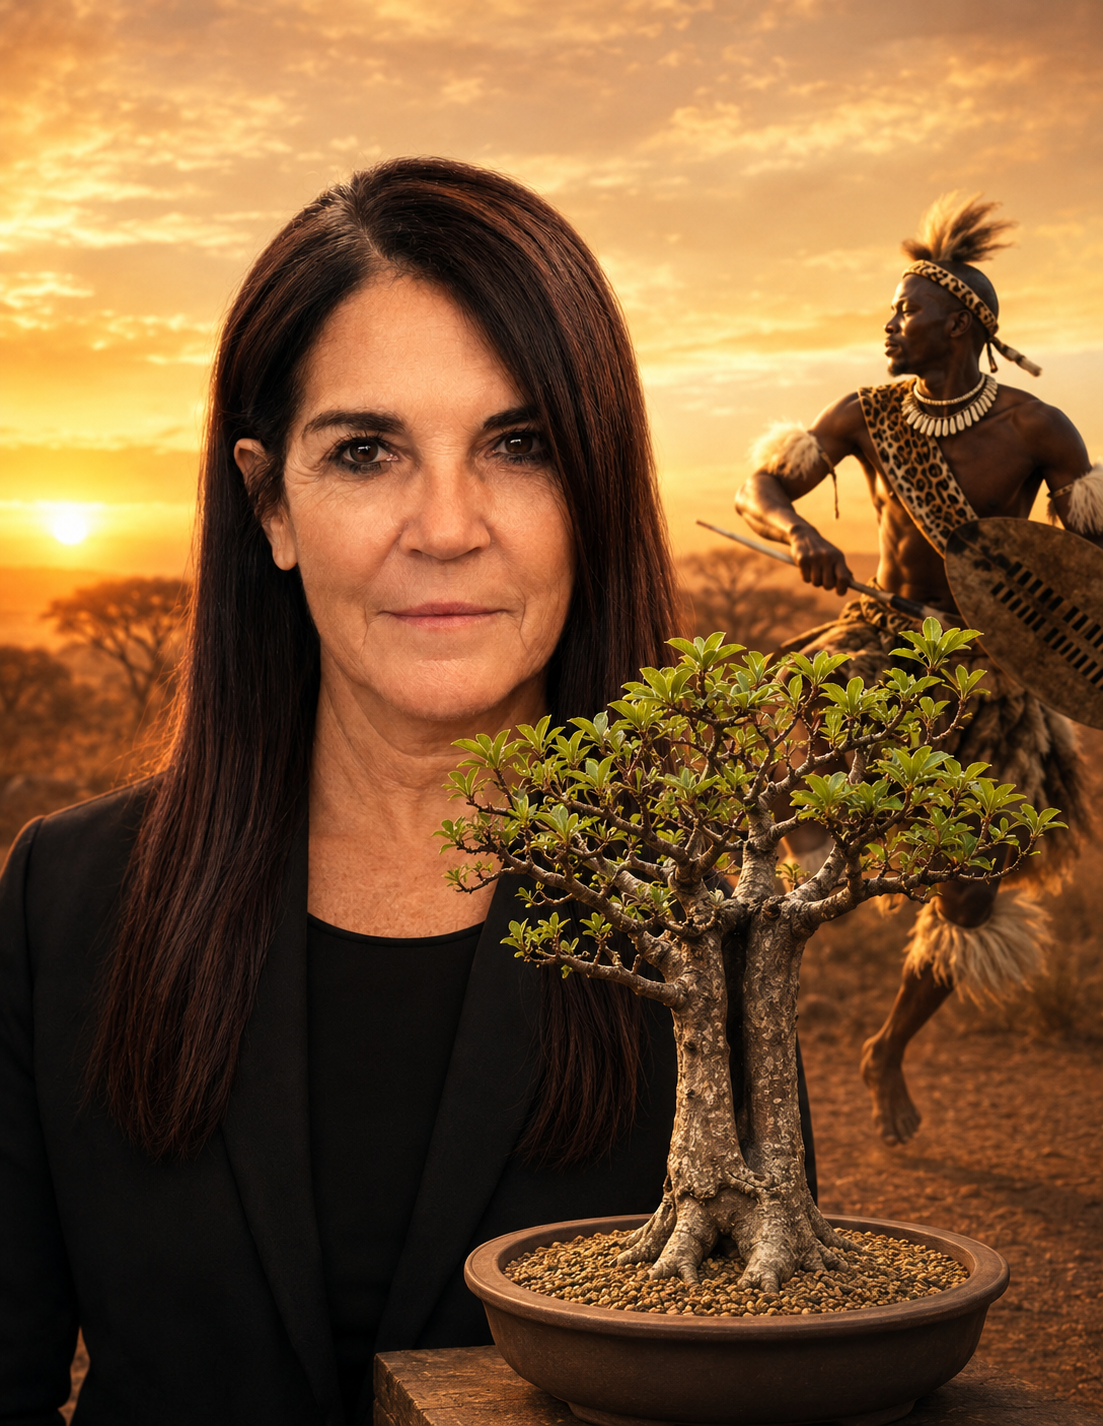
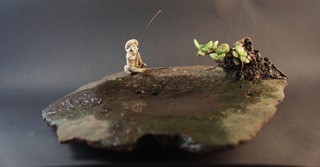
(Created with real images using ChatGPT)

We are very familiar with the history of bonsai and how the earliest origins of miniature tree cultivation can be traced to China, where penjing emerged more than a thousand years ago. The term “penjing” translates roughly as “tray landscape,” immediately signalling a broader artistic ambition than the cultivation of a single miniature tree. Rooted in Daoist philosophy, penjing seeks to capture the vitality, unpredictability, and dynamic movement of nature. Rather than imposing order upon the natural world, the penjing artist works in dialogue with it. Irregularity, asymmetry, and dramatic movement are not merely tolerated but celebrated as expressions of life force or qi. Trees often appear weathered, contorted, and deeply expressive, conveying narratives of survival, struggle, and transformation.

Penjing therefore, becomes narrative in character. This philosophy is visible in the trees themselves. Trunks twist dramatically, branches move with apparent spontaneity, and compositions frequently include rocks, water features, multiple trees, or miniature structures. The goal is not simply to create a beautiful tree. The goal is to create a living landscape that evokes a feeling, a memory, or a story. Looking at a penjing composition can feel like opening the first page of a novel. The viewer is invited to imagine mountains shrouded in mist, windswept cliffs, lonely travellers, or ancient forests. Every element contributes to the narrative.

Japanese bonsai, although historically derived from penjing, evolved into a distinctly different tradition. Influenced by Zen Buddhism, Shinto aesthetics, and a cultural preference for restraint and refinement, bonsai seeks to distil rather than narrate. Where penjing often embraces complexity, bonsai strives for essence. The question asked by the Japanese artist is not “What story does this tree tell?” but rather “What is the purest expression of this tree’s nature?”

When the art travelled to Japan, it evolved into something different. The Japanese did not merely adopt penjing; they refined it according to their own cultural values and aesthetic sensibilities. Influenced by Zen Buddhism and concepts such as wabi-sabi, Japanese bonsai became less concerned with storytelling and more concerned with essence.

Where penjing often expands outward into a landscape, bonsai narrows its focus. The tree becomes the centre of attention. The challenge for the artist is to reveal the essential character of that tree with clarity and restraint. Nothing is unnecessary. Every branch, every angle, every space serves a purpose.

A well-crafted bonsai often appears effortless, although practitioners know how much work lies beneath that illusion. Years of pruning, wiring, repotting, and patient observation are concealed behind a natural appearance. The artist’s hand is present but discreet. Bonsai does not seek to impress through complexity. It succeeds through balance, proportion, and quiet confidence.

Despite these differences, penjing and bonsai share important common ground. Both traditions seek to evoke age, maturity, and the passage of time. Both rely upon principles of proportion, balance, movement, and harmony. Both require extraordinary horticultural skill and a profound understanding of trees. The difference between the two traditions can be felt in the way they engage the viewer. Penjing invites exploration. Bonsai encourages contemplation. One draws you into a story. The other invites you to pause and simply be present.

The African contribution to bonsai introduces another dimension altogether. Africa’s landscapes are unlike those of China or Japan. Trees here grow under conditions that demand resilience. They endure drought, intense sunlight, seasonal fires, grazing animals, and rocky soils. Survival leaves visible marks.

Anyone who has walked through the bushveld, stood beneath a baobab, or admired an ancient wild olive understands that African trees possess a presence that is difficult to ignore. They do not always conform to classical bonsai ideals. They can be abrupt, irregular, scarred, and stubborn. Yet these very qualities make them compelling subjects.

Over the years, African practitioners have increasingly embraced indigenous species and local landscapes as sources of inspiration. Styles such as the Baobab, Bushveld, Flat Top, Wonderboom, Wild Fig, and Pierneef have emerged as recognisable expressions of African bonsai. These styles do more than imitate nature. They celebrate uniquely African forms and ecological realities.

The resulting trees often convey strength rather than elegance. Deadwood is not merely decorative; it reflects the realities of survival. Heavy trunks and weathered bark speak of endurance. Sparse foliage may suggest drought rather than refinement. The emphasis shifts from perfection to authenticity.

What Africa contributes extends beyond aesthetics. Across many African cultures, trees occupy a special place within community life. They provide shelter, mark gathering places, preserve memories, and feature prominently in stories and traditions. A large tree is often more than a biological organism. It is a witness to generations.

This perspective encourages a different relationship between practitioner and tree. The artist becomes less of a sculptor and more of a custodian. Rather than asking, “How can I improve this tree?” one might ask, “How can I honour what this tree has already become?”

That subtle shift changes everything.

Viewed together, penjing, bonsai, and African bonsai offer three complementary ways of seeing the natural world. Penjing celebrates nature’s stories. Bonsai reveals nature’s essence. African bonsai honours nature’s endurance.

None is superior to the others. Each highlights qualities that might otherwise be overlooked. Together, they enrich our understanding of what bonsai can be.

As bonsai continues to evolve across continents and cultures, perhaps its greatest strength lies in this diversity. Different traditions challenge us to look more carefully, think more deeply, and appreciate trees from perspectives beyond our own. The miniature tree in a pot becomes far more than an artistic object. It becomes a meeting place between cultures, philosophies, landscapes, and generations.

Whether we are drawn to the dramatic narratives of penjing, the refined simplicity of bonsai, or the resilient character of African styles, we are ultimately responding to the same thing: the remarkable ability of trees to reflect life itself.

And that is where beauty truly unites us.

(ChatGPT used to language edit)

Doing it with “meraki”

Bonsai enthusiasts often devote their lives to this art form, spending countless hours trimming, wiring, and shaping their trees to create the perfect expression of their vision.

One concept that is often talked about in the world of bonsai is “meraki.” This is a Greek word that means “to do something with soul, creativity, or love.” It is often used to describe the process of creating art, and it can be applied to bonsai as well. The idea is that when you create a bonsai, you should do it with a sense of passion and dedication that goes beyond simply following a set of rules or techniques.

Meraki is about putting your heart and soul into your work, and allowing your creativity to shine through. It’s about creating something that is truly unique and reflective of your own personal style and vision. When you work with meraki, you are not simply creating a bonsai, but you are creating a work of art that has the potential to inspire and move people.

Creating a bonsai with meraki involves a deep understanding of the tree you are working with. You must learn about the species of tree, its growth habits, and the unique characteristics of each individual specimen. You must also understand the principles of bonsai design, such as balance, proportion, and harmony. But beyond these technical skills, you must also have a deep love for the tree and a desire to bring out its full potential.

Meraki requires patience, dedication, and a willingness to take risks. You are creating something that is uniquely your own, and you must be willing to experiment and try new things in order to achieve your vision.

Ultimately, the concept of meraki in bonsai is about creating a living expression of your passion and creativity. It is about using your skills and knowledge to create something that is both beautiful and meaningful. Whether you are a beginner or an experienced bonsai artist, incorporating meraki is to create bonsai that are truly unique and leaving something of your soul in the tree.

Hell no!

Why do we do bonsai? Some of us do it for the accolades and the “Likes” and “Hallelujas”. And some of do it for ourselves, the “Oh-Yeah’s” and the “OK’s” and the “This-Is-Just-For-Me”! What the last two years have taught me is that life is too short. I do bonsai for myself and yes, I can only talk about plants. Ok, not just plants, but also the conditions they need for optimal growth, the soil they need for proliferation, the food my trees need, and, and, and. Then I can talk about lots. I am seldom concerned about bonsai styles or which way the first branch bends or how far it is from the top of the soil. I feel that is personal to the “artist” and should reflect some of your own style and or personality. Let me explain: maybe nobody ever taught Picasso to draw. Or what if he got a paint-by-numbers kit for Christmas and that started his career as an artist? Make no mistake, there is nothing wrong with a bit of bonsai-by-numbers, but bonsai should be about fun, too. I am first and foremost a Tree-Lover and secondly a bonsai artist. I collect species and have some very rare and exotic trees in my collection. I love growing trees from seed or making truncheon cuttings. I have no illusion that they will never be called bonsai by anyone but me. But they are my bonsai. And that makes me happy. I will post a series of care instructions on various species. That said: there is ONE rule!  Know your area and know your species!

All in a Saturday’s work!

While the rest of South Africa is watching the rugby, I got busy with some recycling.  Let me back track a bit.  A while ago, I got tools to cut and design pots made from polystyrene.  Then I got busier with pottery and discovered the joy of clay. I still like working with polystyrene and have a shed full of throw-away-packaging pieces.  (I have been known to stop the maintenance guys and ask them for the packaging. – I have a shed full).

I also have loads of thimble and mame bonsai which I keep going by standing them in very shallow water to create a micro climate.  Then an idea hit me! I can make my own penzai. (Potted landscape). As with all my bonsai, I reserve artistic rights and adapt this to my own style and memories.  I made a Phuket penzai in memory of our second honeymoon (I have two other floating in my guppy pond!) I have a Senyati Gorge in memory of my first honeymoon in Zimbabwe.

IMG_5028  IMG_5025

Some of the penzai that I built today, will be to showcase some of my kusamono, mames and thimble bonsai.

So, get some throw-away packaging, your cutting tools, and carve away!

IMG_5012IMG_5013

You will also need to paint your finished penzai, and here there are as many recipes as there are bonsai rules.  I will tell you what works for me and what I have tried.

Cement Paint

1 cup tile grout (There are many colours and you can add cement oxide stain to manipulate is further)

1 cup beach sand (if you like a coarser finish – I did not use any today)

1 cup tile glue

Add tile bonding liquid till you have a sludge that will easily paint on, (As I use it up, I may add water to the remaining sludge to get it back to the original consistency) and start painting.

It is very messy, so make sure you are wearing old clothes and gloves. (I like getting dirty and don’t mind scraping cement off my nails later:-)

IMG_5014

I give my finished penzai and initial all over coat of my base colour.  I will often then add a darker oxide (or grout) to the remaining mix and give it a more artistic finish. Please note that I am not an artist and a lot of what I make and do, is copied from what I have seen.  Also, having lived in a small rural village in South Africa, we often have to make do with what we can find.

IMG_5017You can see my torii gate in the background.

Both these penzai will be used to plant Portucularia afra cuttings to create a landscape.

IMG_5018This specific landscape was made as a display for my thimbles and mames. Obviously, it is not completely finished yet. I will add some crushed coral to the center which will be filled with water to create the micro climate.  Once weathered, you will never know it is not real!

IMG_5020

Some ideas of what I am planning to do:

IMG_5021  IMG_5022

The story of the Bougeys

As normal, I can spot a potensai at 120km an hour. One day, I passed a construction site and there were lots of tree stumps lying around. I did slow down, I will admit, but 2 kilometers further I made a u-turn. I stopped and asked the people what they were going to do with the trees. “Oh, the rubbish?”, they asked. “Uhm…yes,” I replied. “Oh, that? We are throwing it away.” One hour and two trips later, we had it on the back of my eldest son’s car.

IMG_4100When we got home, these stumps, which had been pulled out of the ground with a tractor and hacked into pieces, were sorted from big to small.  There were 18 ‘pieces’ all together.  Some had roots and some had none. None had leaves.  I wish I knew what had happened to those.  Bougainvilleas root very easily.  The biggest killer of bougeys is rot or too much water.  In fact, they like to be dry, rather than wet.  All ofIMG_4106 
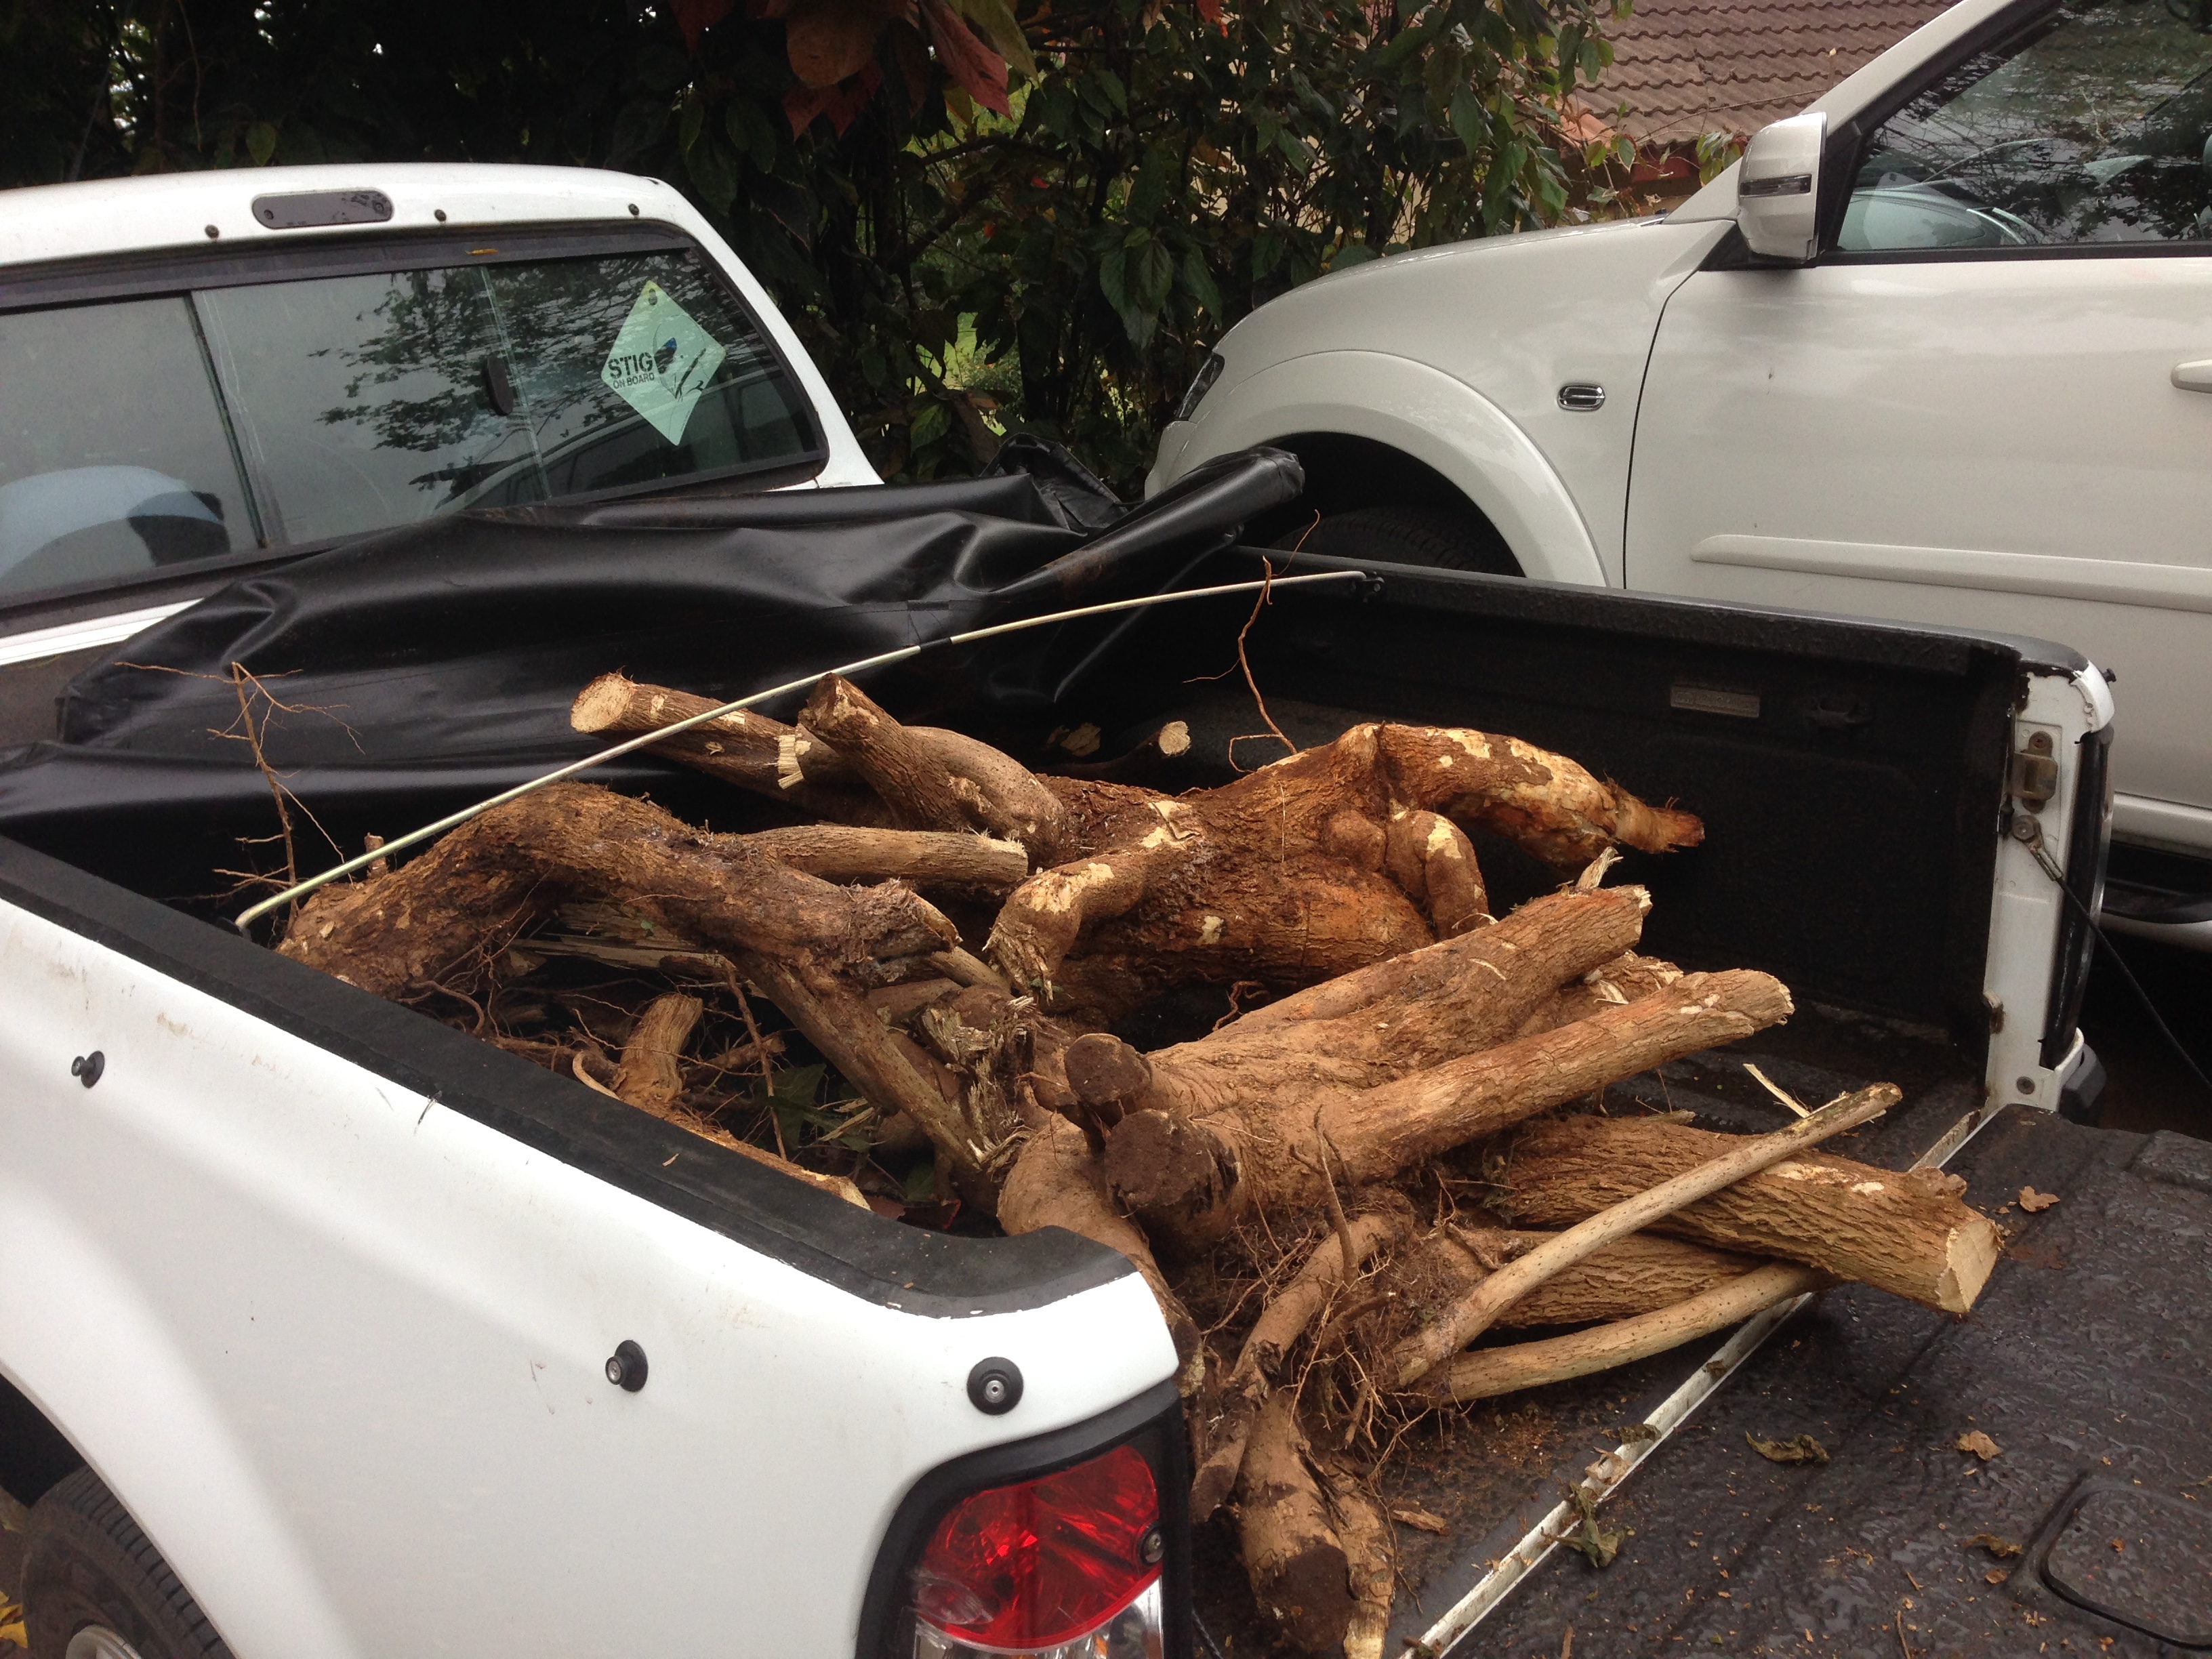
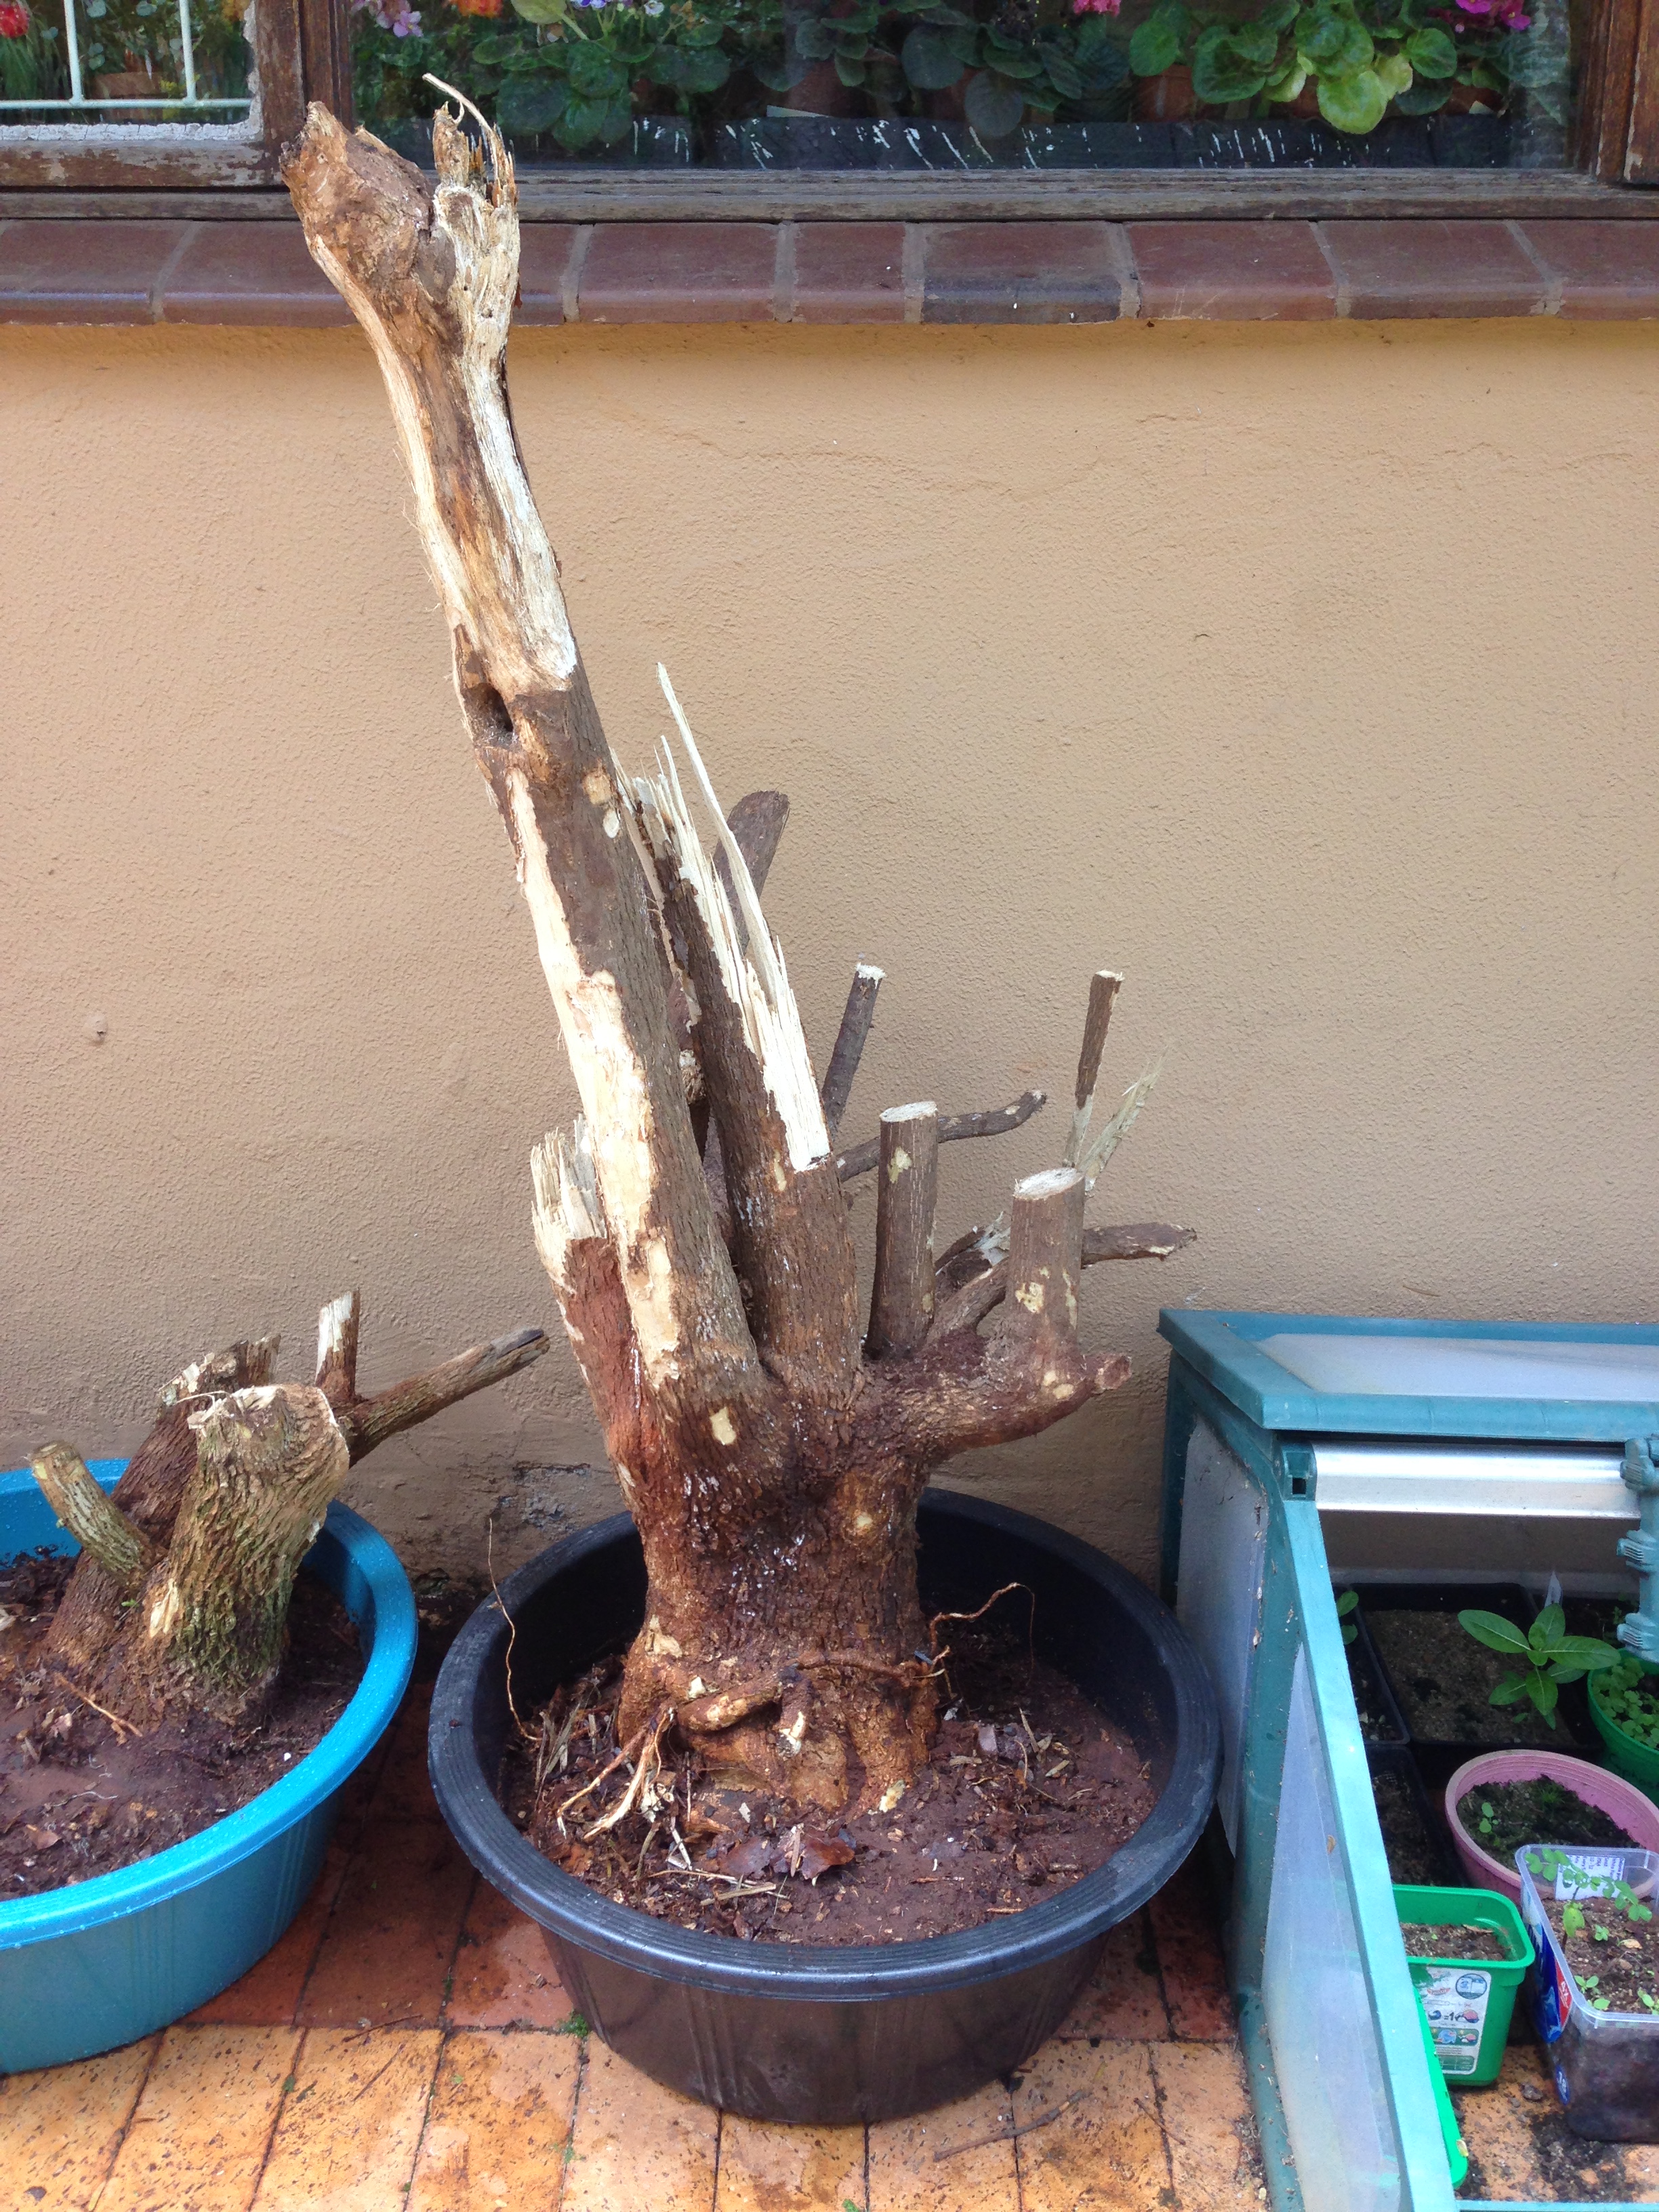
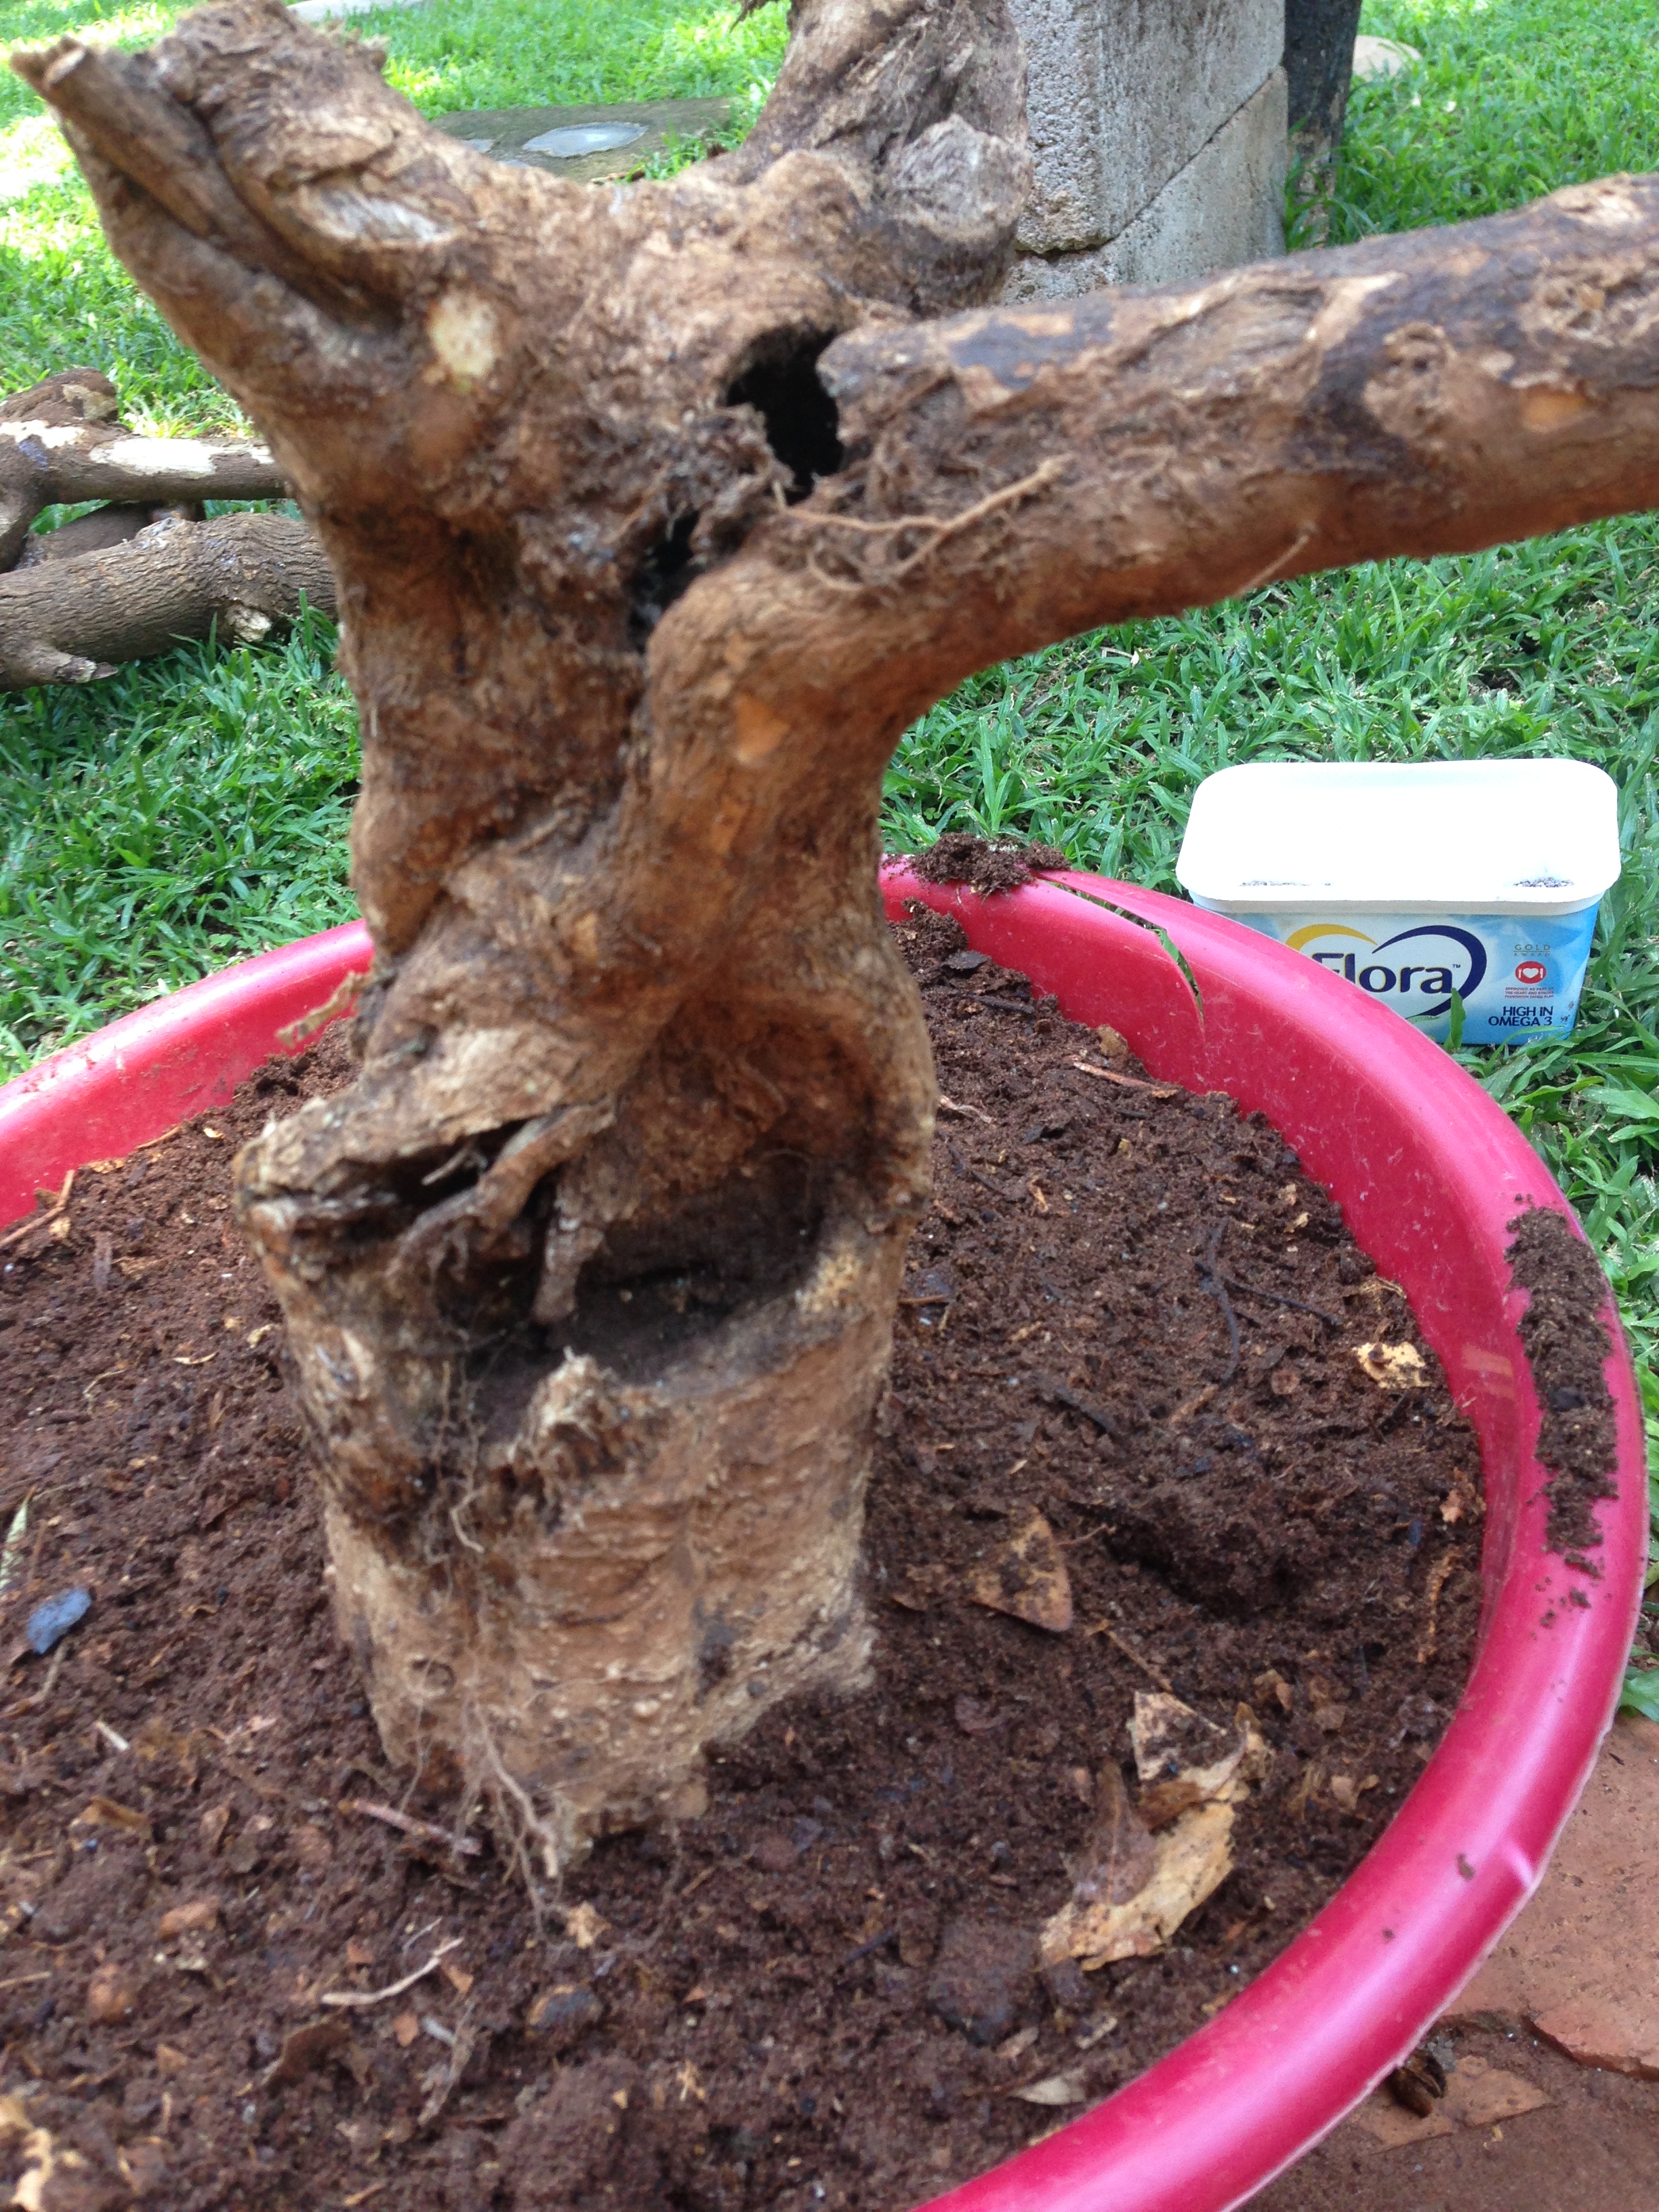
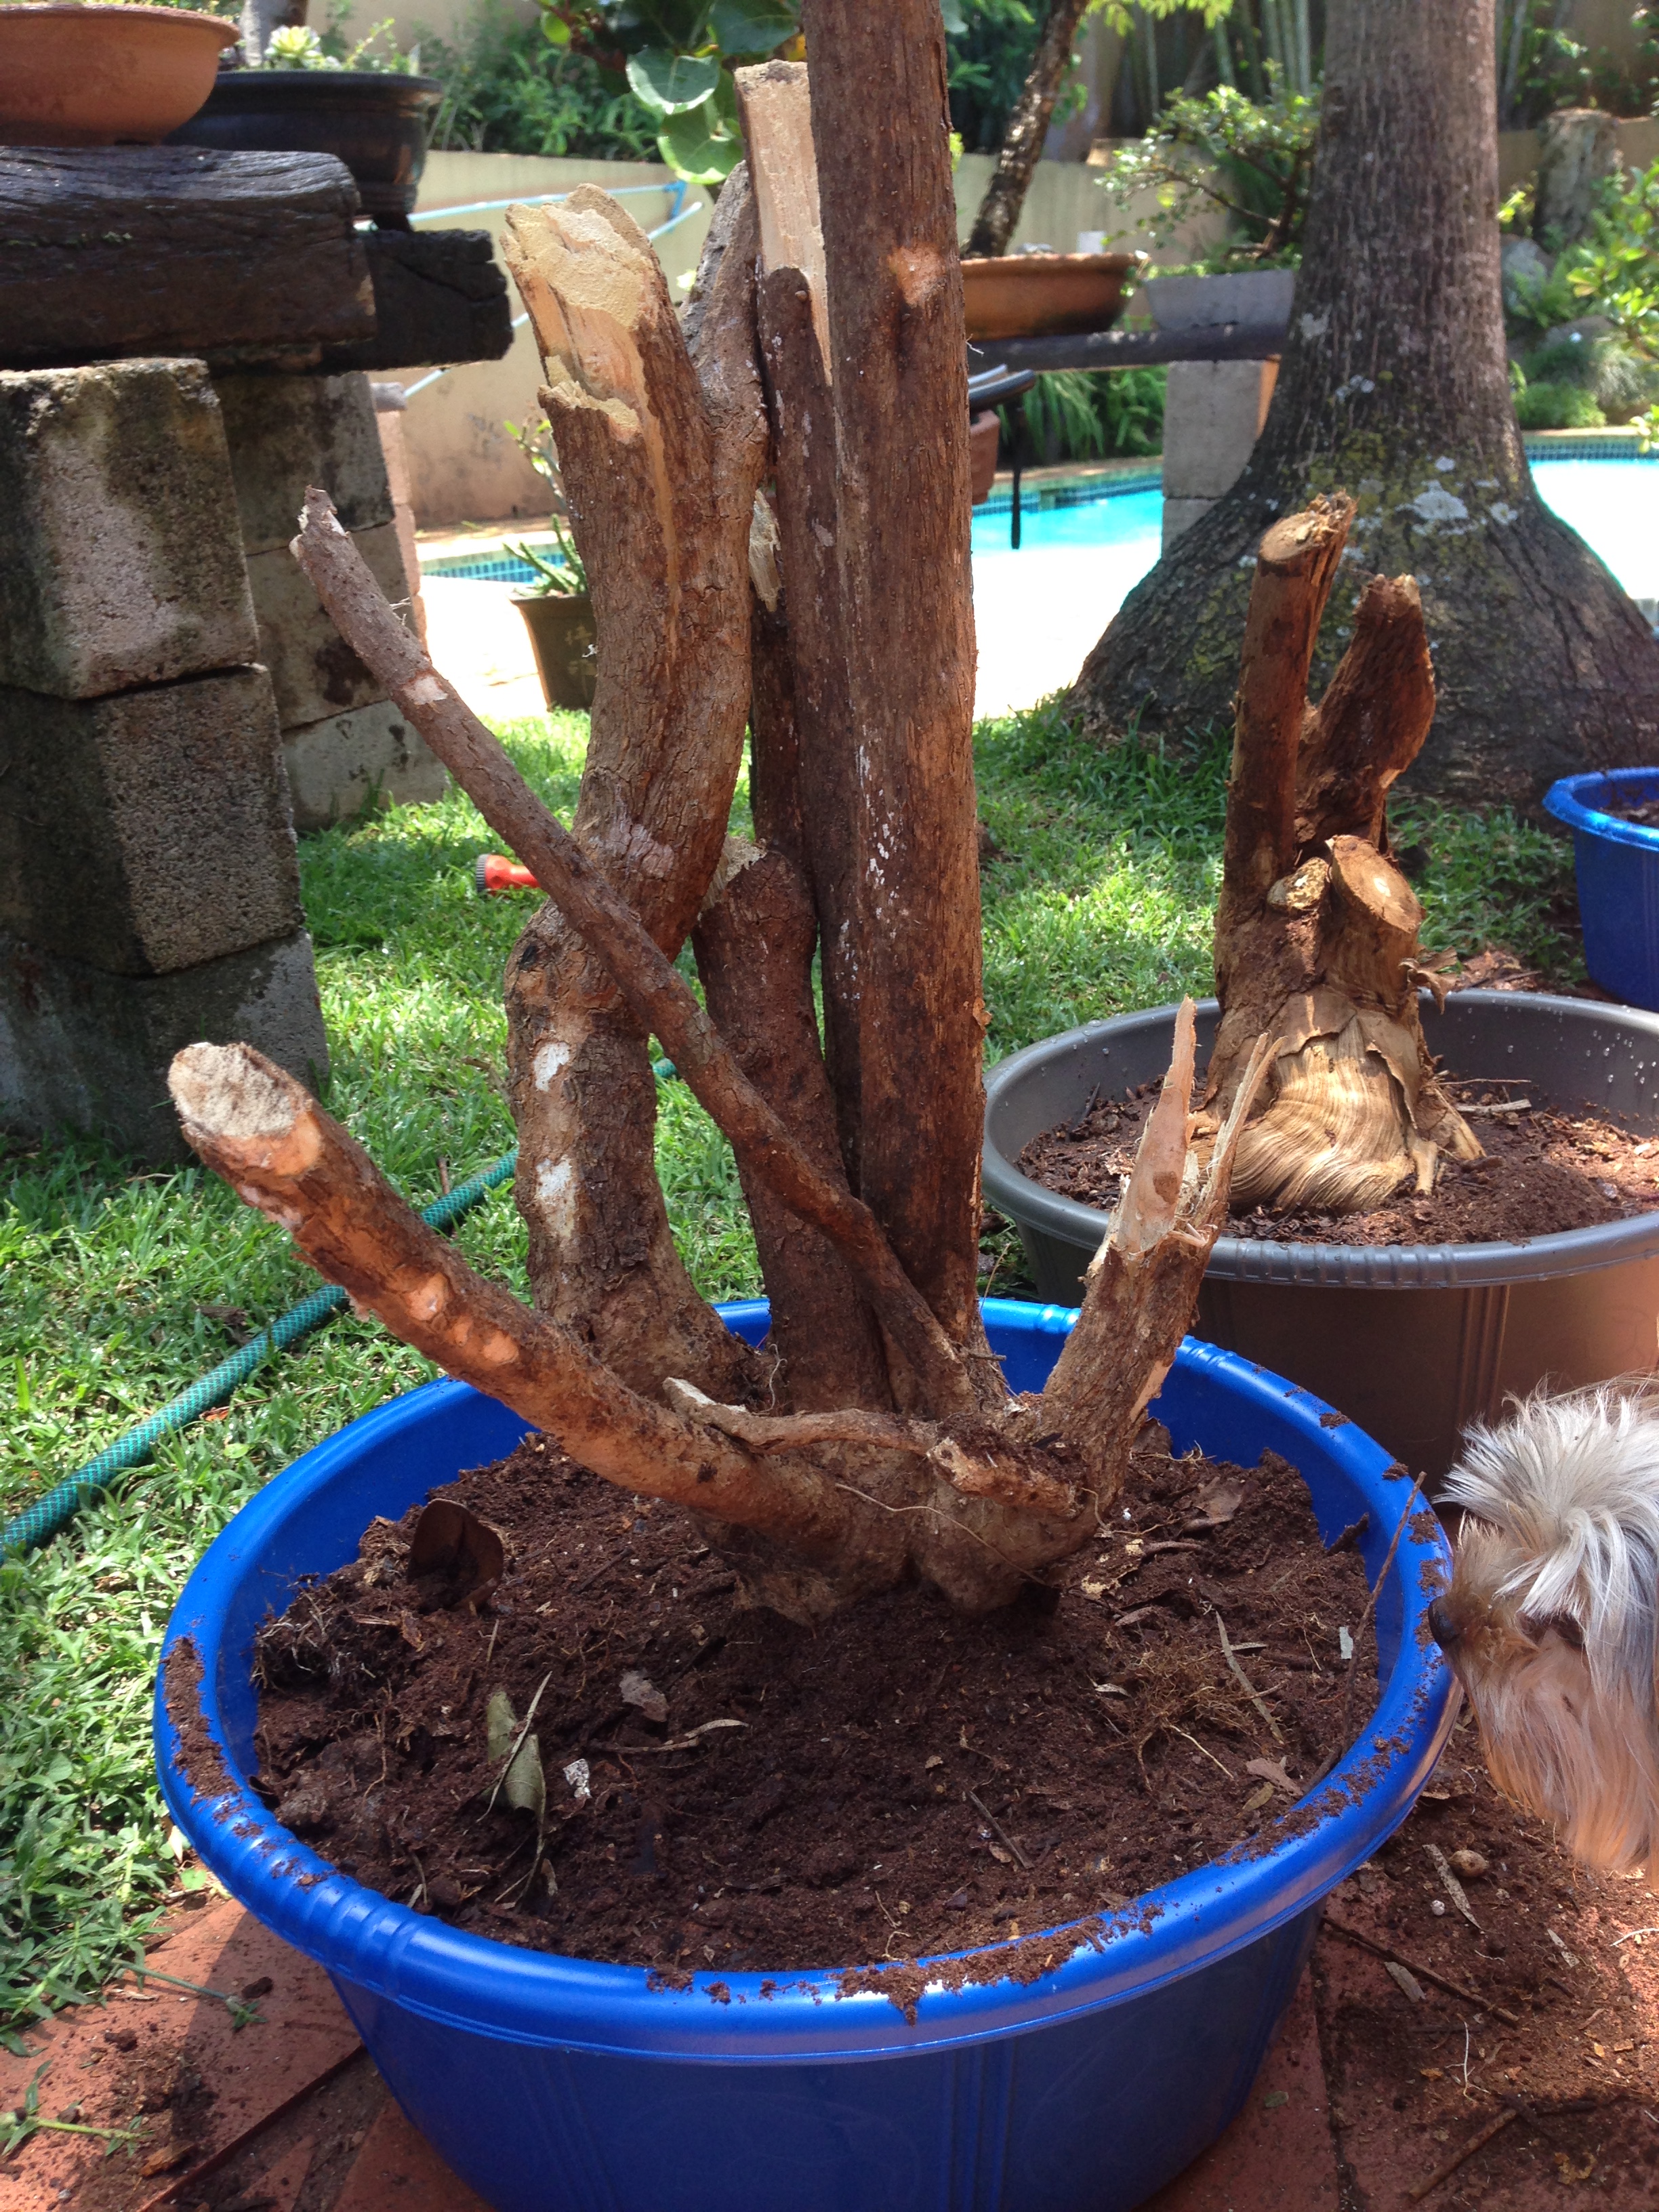
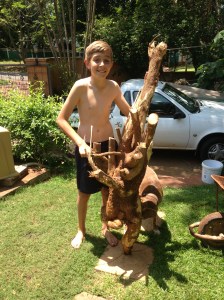
these stumps were collected about 3 days after they were pulled out. That is Reevin on the right with the biggest stump.

Since about 2013, it has been Reevin’s dream to raise funds for rhino anti-poaching.  Since the 3 biggest stumps are too large for me to handle (and I already have two big bougeys), I decided to raffle the 3 (if they survive) as a thank you to him for helping me.  We are happy to say that 13 out of the 18 survived and the biggest 3 are looking awesome.

I use a simple soil mix.  I make my own compost from garden rubble, mowed lawn cuttings and leaves.  I use 2 parts compost, and 1 part river sand. I have a mix of mycorrhiza and my grandmother’s secret ingredient which I sprinkle around where roots should develop and used BonsaiBoost as fertilizer.  I fertilise straight away.  I believe that the tree needs all the help it can get to recover. I do not carve straight away and most styling will only be done once we know which branches are alive.

The trees were potted on the 28th of November 2014 and the after photos were taken on the 1st of April 2015 unless otherwise indicated.  The following photos are put in sequence to show you development. I am hoping to use this post to show progression and ultimately get the raffles going.

Bougey 1

IMG_4107IMG_4588

PS – The beer bottle is for size:-)


Bougey 2

IMG_4591IMG_4105


Bougey 3

IMG_4104IMG_4592

Bougey 4

IMG_4114IMG_4803IMG_4911

This photo was taken on the 23rd of June 2015. I used BonsaiBoost exclusively and NO styling has been done on this tree. It is just growing in this shape and form.  Something tells me this is how she wants to look.  I need a name for her. I will make a pot and repot in August 2015.


Bougey 5
IMG_4111


IMG_4802

This bougainvillea is incredible in the sense that it has two colours, no make that 3.  It has pink flowers, pink and white flowers mixed and white flowers all on one tree. This one had a dodgy shape, but I kept all the branches.IMG_4801

I am looking for someone to carve the top 3 beauts as I am not brave enough. These are the ones that will be raffled off. Send me a message. And then…”Watch this space” for the raffles  to start.

Aerial Roots

In 2009 ( a lot happened back then…) I bought one of these S shaped Figs from a very reputable bonsai vendor. (As he now declares that these S-shaped Chinese imports are not bonsai – I will refrain from naming him).  In any case, I always wanted one and I have four now. And quite happy with my bonsai.

This one had some aerial roots already and I was advised by all to cut them off.

DSC04964

It became my mission to have a proper banyan     fig (Yes – I know this is not a Banyan Fig (Ficus benghalensis). Banyan actually means that the fig started its life as an epiphyte and that its seed germinated in a crack of another tree. The true Banyan fig is native to India. They are frequently planted near homes, temples, villages, and roadsides and is often a meeting place for the community. People would gather in its shade to relax, discuss issues, and make decisions. The name, banyan, is derived from merchants called Banias, who rested under the trees to discuss their strategies. It is therefore for this reason that I wanted to develop aerial roots.

I was advised to water from above – which i religiously did.  Soon, little roots started forming from the grafted branches.  I unfortunately lost the branch on the right a while ago.  I decided not to regraft or remove it, but I let branches from the top branch grow down. There is still a long way to go, but basically, this is where this tree is at today.

IMG_4950


Earlier this season, I decided to use straws to guide the roots down to try and prevent root splitting near the soil as the the second from the left, root. When I removed the straw, I found lots of little roots and root hairs growing.


IMG_4954 IMG_4960

It will be very interesting to see what develops from here.


IMG_4959

On the righthand side where I lost the branch and have been trying to “cheat” by getting other branches to cover up, you will see some green cable ties.  It worked for while, but then I bumped the branch and it broke. No amount of wood glue or anything has worked. Then I had another brainwave. What if I let one of these roots grow very long (using a straw, I aimed to off the side and out the pot), I eventually managed to get a root long enough to ‘twine’ around the dead, broken branch. I really hope it works this time, as the tree (and I) need this branch. As you can see, the root is still in the straw and should soon reach the soil in the bonsai pot.

IMG_4953IMG_4952